
What is Image Creation & Editing?

Image Creation & Editing lets you generate new images, edit existing images, and combine visual references inside a Project. Use it for covers, product visuals, campaign assets, reference frames, and other still images you want to keep with your files. Start from the result you need, not from a model name. Happycapy can save the output to Files and keep prompts, references, and generated assets together for later sessions.

Three ways to start

Choose the input you already have: text, one image, or multiple references.

1. Start from text

Describe the image you want. Happycapy can generate it and save it with the rest of your Project files.
Text to image

Create a docs cover from text

Start with the finished image you want. Happycapy can generate the artwork and save it with the rest of your Project files.

Ask Happycapy

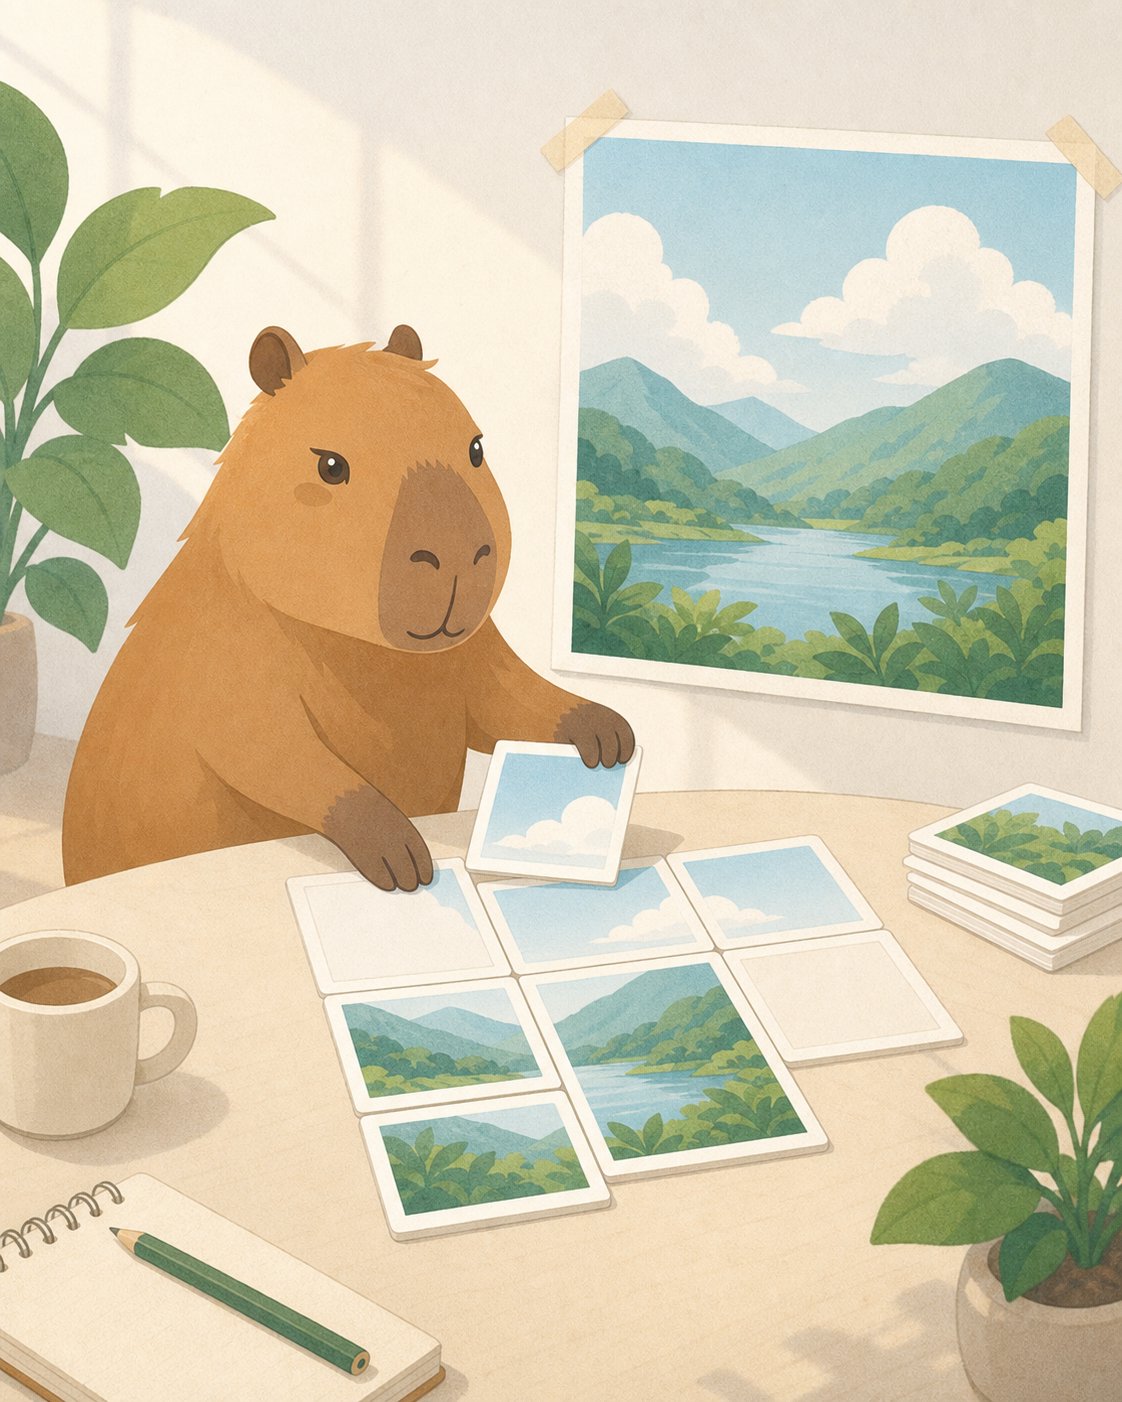
Create a 4:5 Happycapy-style illustration for a docs page about image generation.Show a calm capybara arranging blank image cards into one finished artwork. Use bright daylight, clean editorial illustration, paper grain, and no readable text.Save it as outputs/image-generation-cover.png.
Happycapy-style generated illustration for an image generation docs page

2. Edit one image

Upload an image and ask Happycapy to change details, layout, background, style, or local areas while keeping the parts you care about.
Edit an image

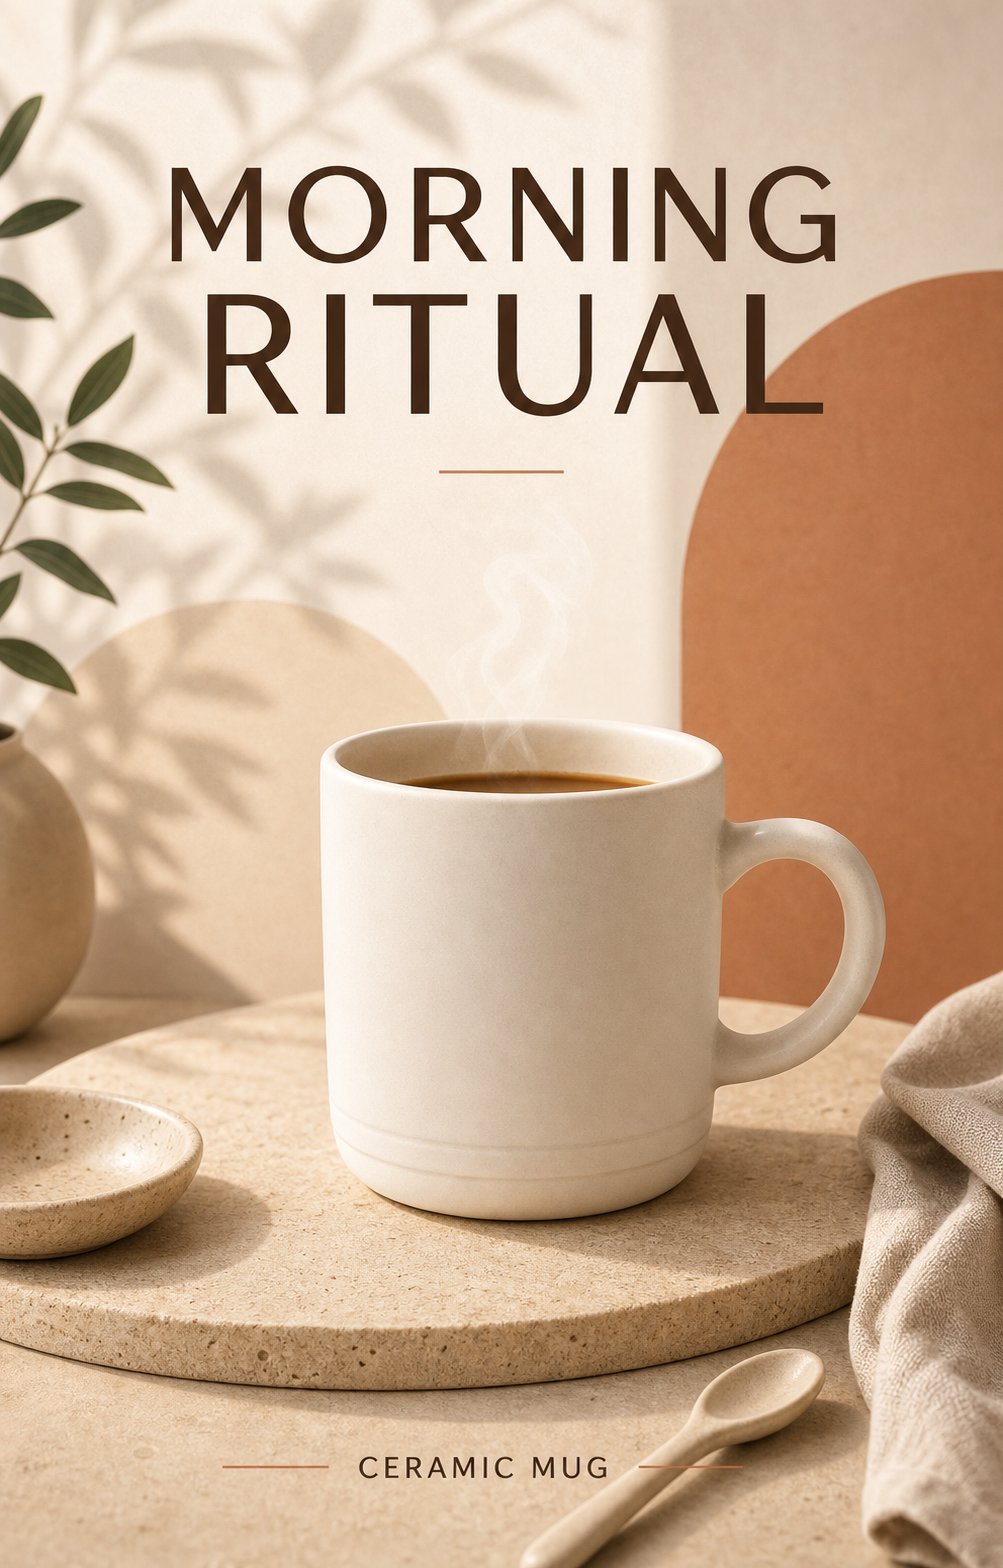
Turn a plain product photo into a campaign poster

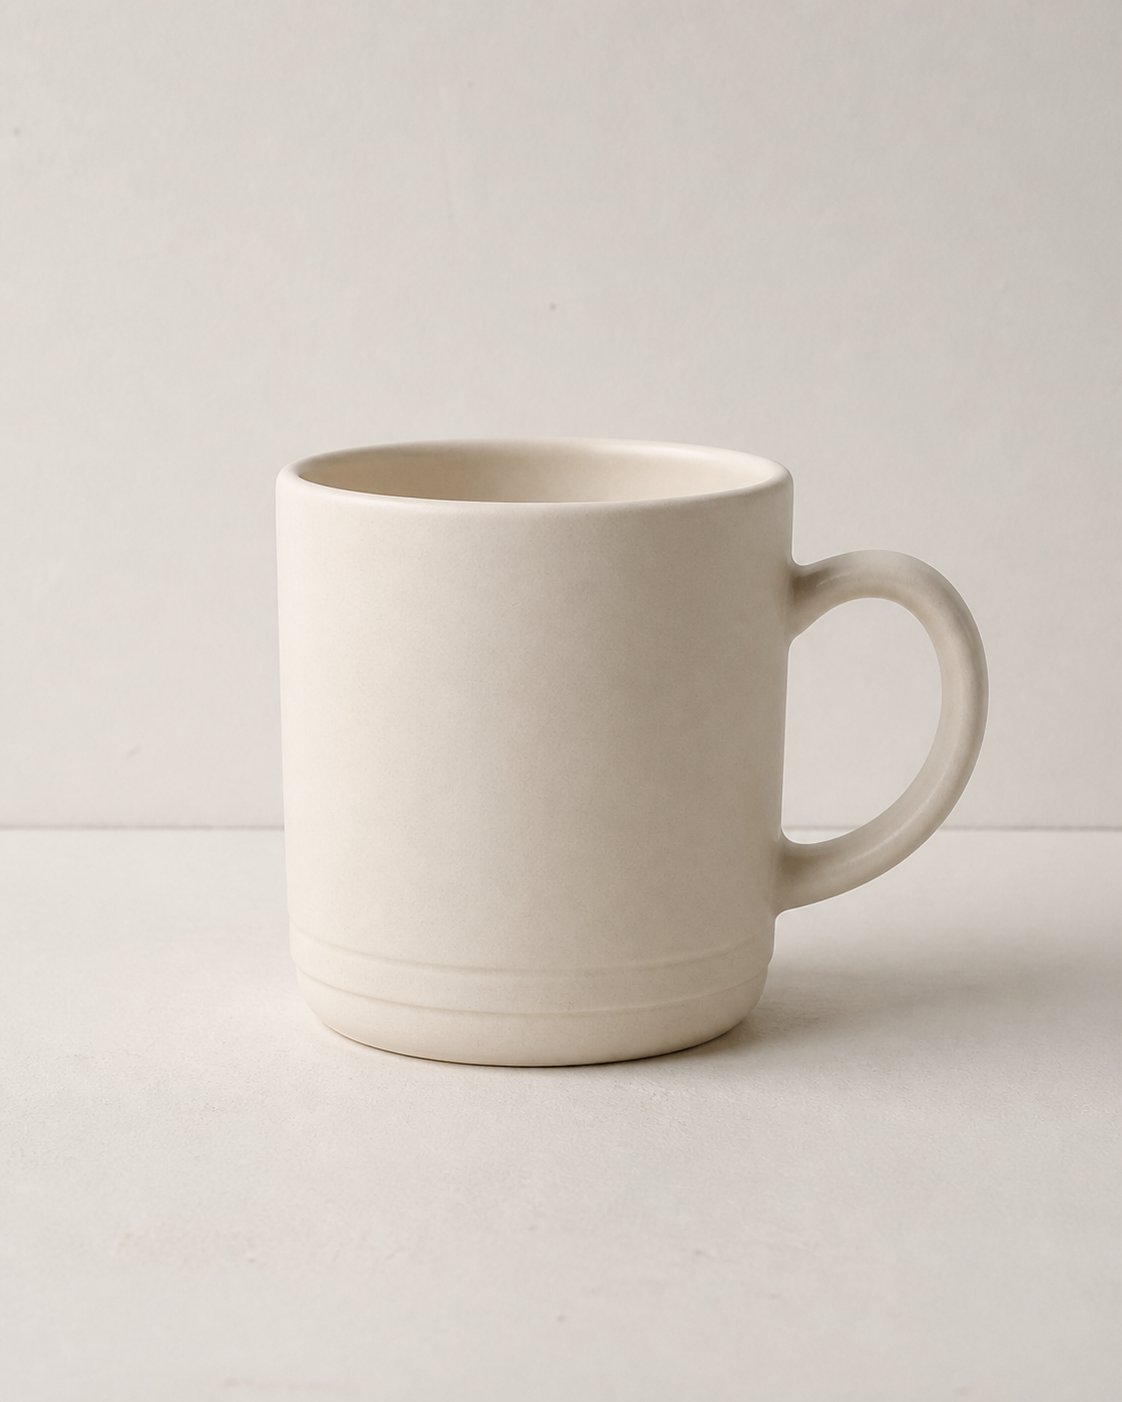
Upload a simple product photo. Ask Happycapy to keep the object recognizable, then change the layout, lighting, props, and poster typography.

Plain mug product photo before editing
Before
Campaign poster after editing the mug product photo
After

Ask Happycapy

Edit the uploaded product photo.Keep the mug recognizable, but turn it into a 4:5 product campaign poster. Add clear poster typography with the headline “MORNING RITUAL” and the small label “CERAMIC MUG”.Use warm studio lighting, a premium editorial layout, soft shadows, and simple lifestyle props. Save it as outputs/mug-campaign-poster.png.

3. Combine references

Upload several images and tell Happycapy what each one controls: brand mark, subject, material, mood, layout, or scene.

Multi-reference

Create a merch campaign from three references

Use one image for the brand mark, one for the merch objects, and one for the campaign mood. Tell Happycapy what each reference should control.

Happycapy logo reference
Image 1

Controls the Happycapy brand mark and line-icon identity.

Blank merchandise objects reference
Image 2

Controls the merch objects, materials, and product perspective.

Campaign layout and mood reference
Image 3

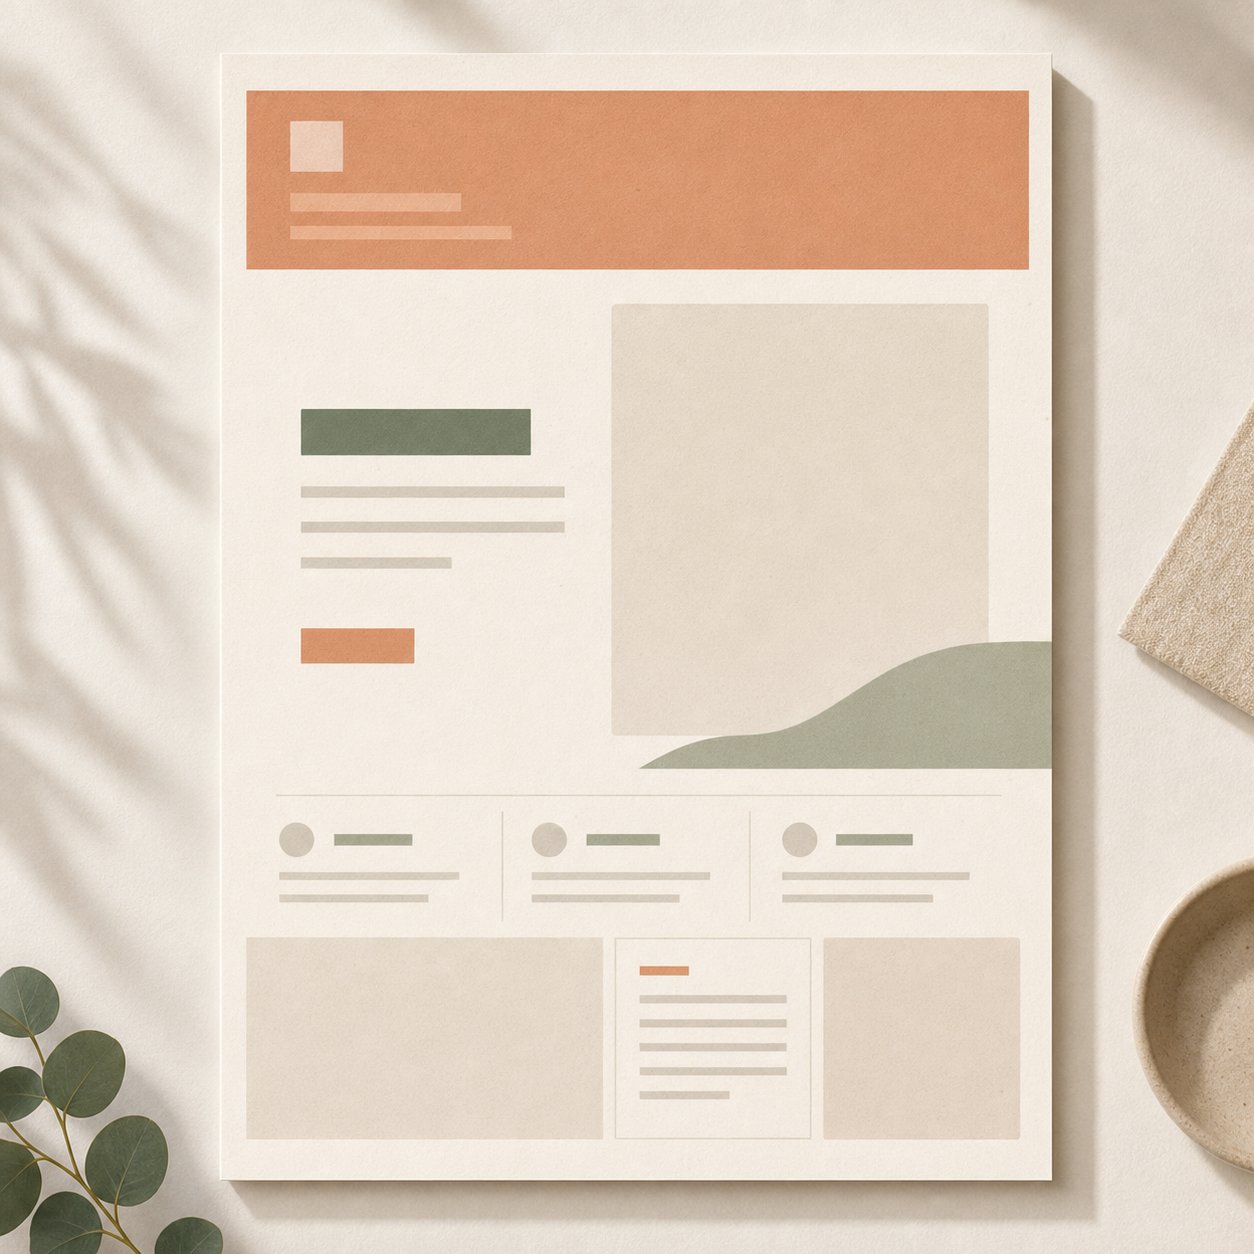
Controls the poster mood, color palette, light, and layout.

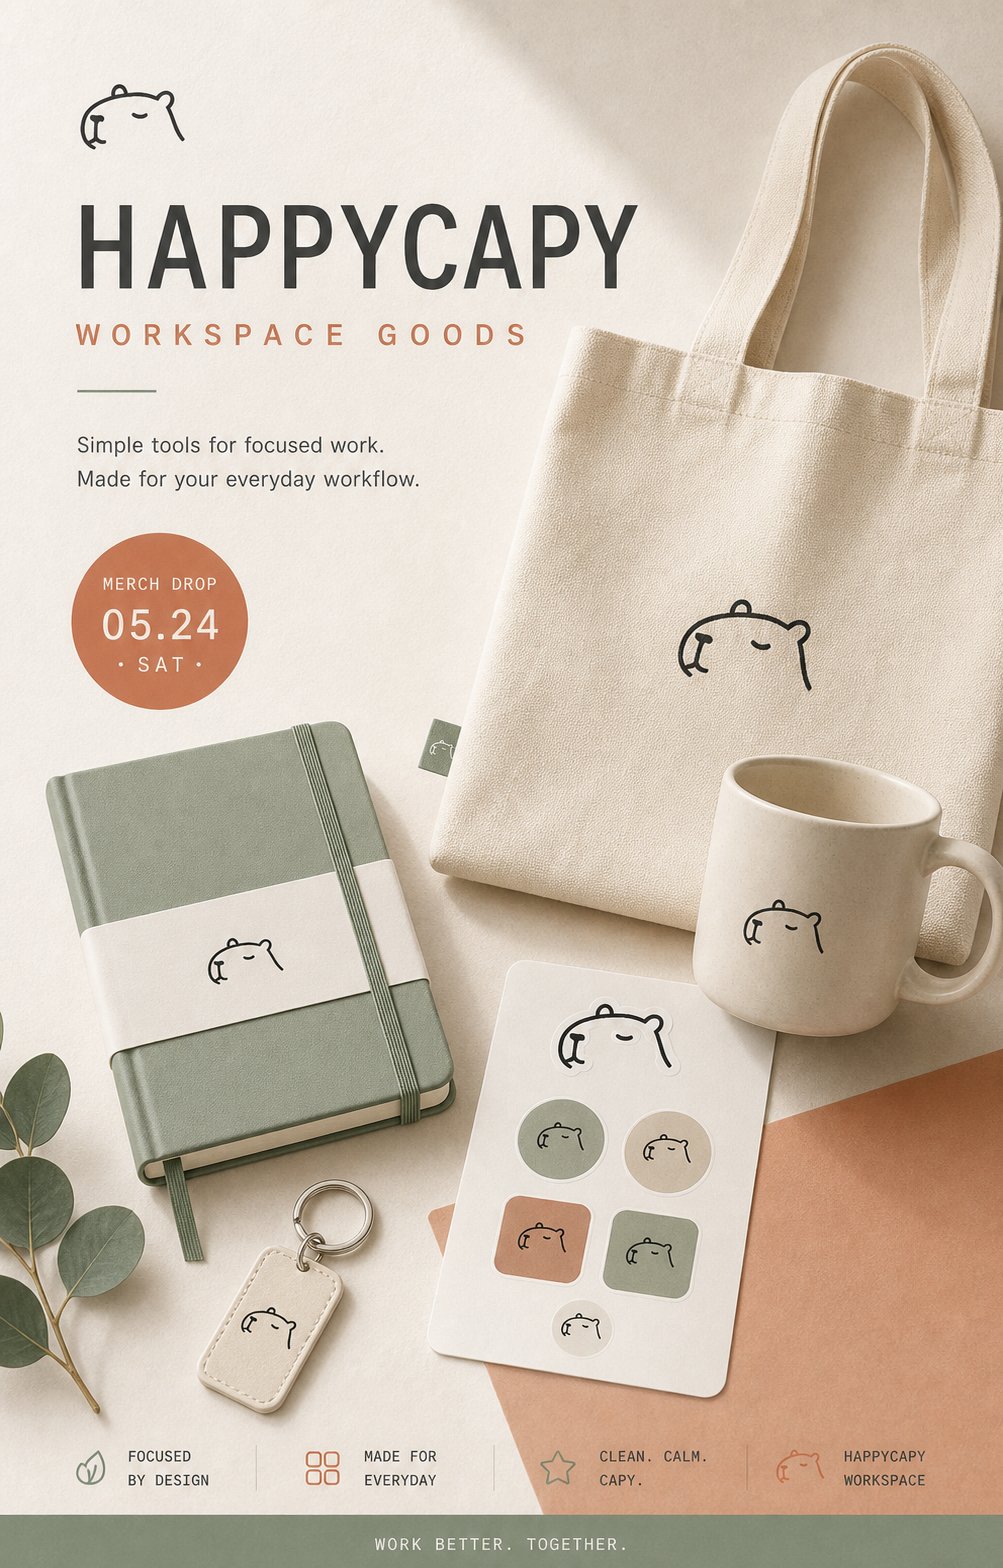
Generated Happycapy merch campaign poster

Ask Happycapy

Use image 1 as the Happycapy brand mark reference. Keep the simple capybara line icon recognizable, but use it as a tasteful logo on the products.Use image 2 to control the merch objects, materials, and product perspective. Use image 3 to control the campaign mood, color palette, lighting, and layout.Create one 4:5 editorial campaign poster for a fictional Happycapy merch drop. Show the logo applied to the merch objects in a clean, premium way. Save it as outputs/happycapy-merch-campaign.png.
  • Files: manage uploaded references, generated images, and outputs/ files inside a Project.
  • AI Image Generator: browse more image prompt ideas and try image generation directly.