> ## Documentation Index
> Fetch the complete documentation index at: https://docs.happycapy.ai/llms.txt
> Use this file to discover all available pages before exploring further.

# 画像生成と編集

> Project の中で画像を生成、編集、組み合わせ、参照画像を準備する

## 画像生成と編集とは？

画像生成と編集では、Project の中で新しい画像を作成したり、既存の画像を編集したり、複数の視覚参照を組み合わせて 1 つの結果にできます。カバー画像、商品ビジュアル、キャンペーン素材、動画用の参照フレーム、その他ファイルと一緒に保存したい静止画に使えます。

モデル名からではなく、必要な結果から始めてください。Happycapy は適切な進め方を選び、出力を Files に保存し、プロンプト、参照画像、生成結果を同じ Project にまとめて次のセッションでも続けられるようにします。

## 3 つの始め方

すでに持っている入力に合わせて始めます。テキスト、1 枚の画像、または複数の参照画像です。

### 1. テキストから始める

作りたい画像を説明します。Happycapy は画像を生成し、Project の他のファイルと一緒に保存できます。

<div style={{ display: 'grid', gridTemplateColumns: 'repeat(auto-fit, minmax(250px, 1fr))', gap: '1rem', margin: '1rem 0 2rem' }}>
  <div style={{ gridColumn: '1 / -1', border: '1px solid rgba(46, 41, 41, 0.1)', borderRadius: '12px', overflow: 'hidden', background: '#fffdf9' }}>
    <div style={{ padding: '1.1rem' }}>
      <div style={{ fontSize: '0.78rem', textTransform: 'uppercase', letterSpacing: '0.08em', color: '#df7657', fontWeight: 750 }}>Text to image</div>
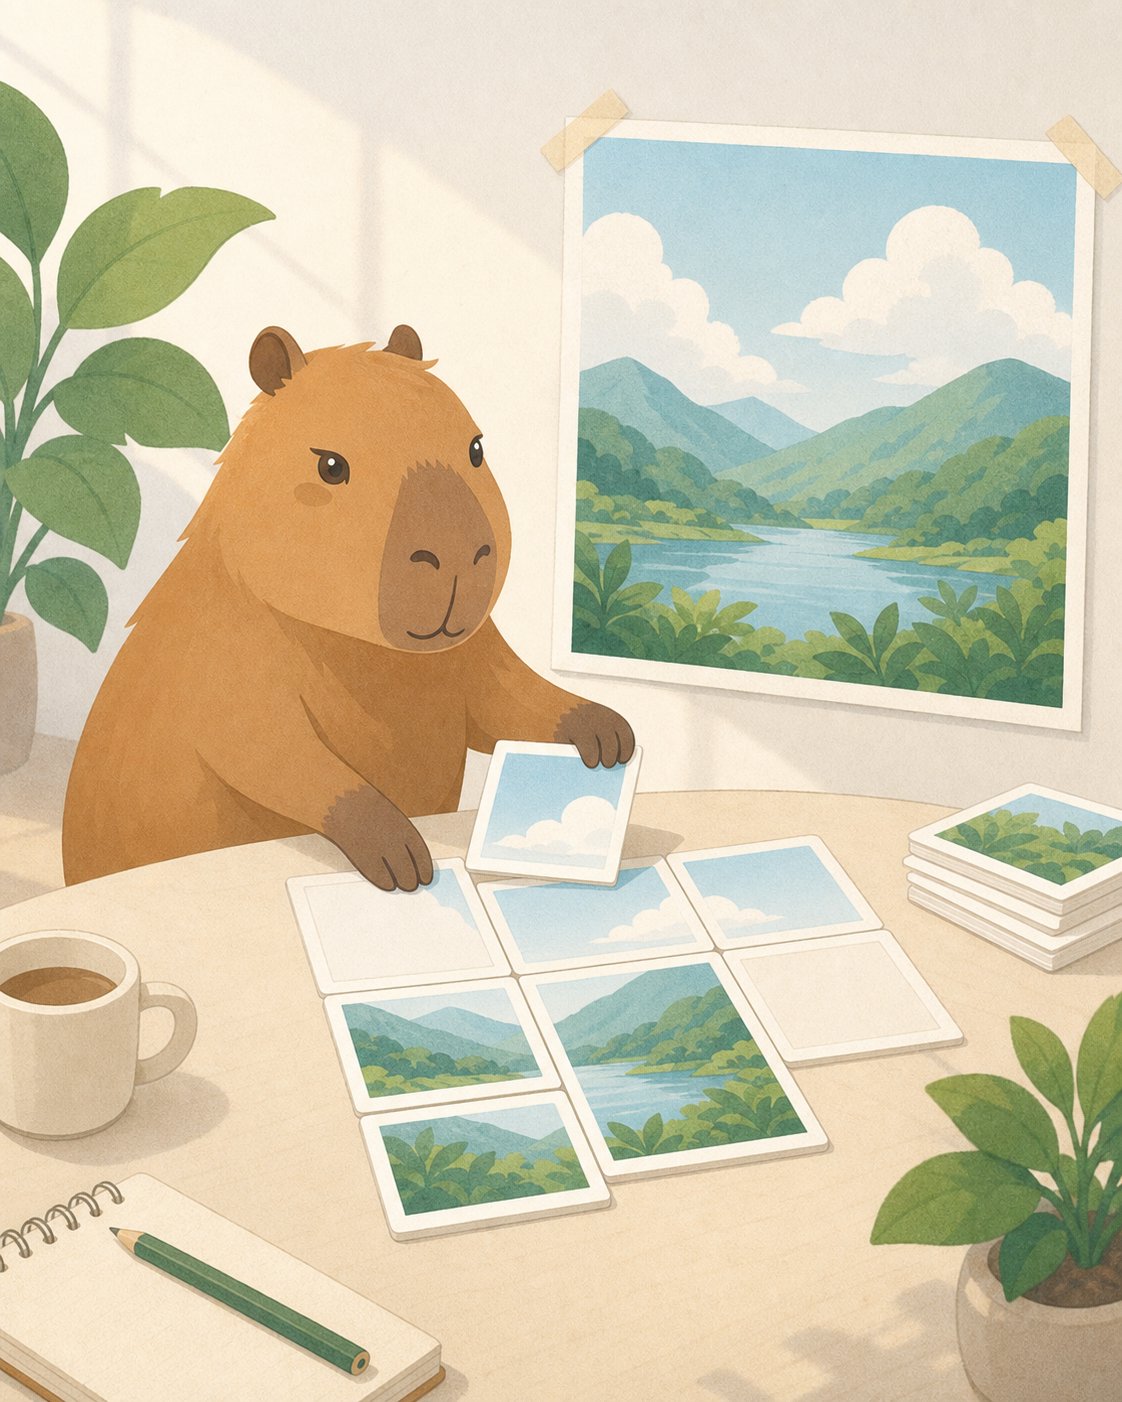
      <h3 style={{ margin: '0.35rem 0 0.55rem', fontSize: '1.3rem' }}>テキストからドキュメント用カバーを作る</h3>
      <p style={{ margin: '0 0 1rem', color: '#6e6861', fontSize: '0.95rem', lineHeight: 1.55 }}>完成イメージから説明します。Happycapy はアートワークを生成し、Project の他のファイルと一緒に保存できます。</p>

      <div style={{ display: 'grid', gridTemplateColumns: 'repeat(auto-fit, minmax(240px, 1fr))', gap: '1.25rem', alignItems: 'stretch' }}>
        <div style={{ height: '100%', padding: '0.85rem', borderRadius: '9px', background: '#f8f6f2', color: '#4d4640', fontSize: '0.86rem', lineHeight: 1.55 }}>
          <p style={{ margin: '0 0 0.65rem', color: '#8a8178', fontWeight: 700 }}>Happycapy に依頼する</p>
          <code style={{ whiteSpace: 'pre-wrap' }}>Create a 4:5 Happycapy-style illustration for a docs page about image generation.{"\n\n"}Show a calm capybara arranging blank image cards into one finished artwork. Use bright daylight, clean editorial illustration, paper grain, and no readable text.{"\n\n"}Save it as outputs/image-generation-cover.png.</code>
        </div>

        <div style={{ justifySelf: 'center', alignSelf: 'start', width: 'min(100%, 340px)', margin: 0 }}>
          <img src="https://mintcdn.com/happycapy/h9_vLtvDfrXu5HTP/images/features/image-generation-cover.png?fit=max&auto=format&n=h9_vLtvDfrXu5HTP&q=85&s=48b5fdecf36daa6805587c4d5d30ab86" alt="画像生成ドキュメント向けの Happycapy スタイル生成イラスト" style={{ display: 'block', width: '100%', margin: 0, aspectRatio: '4 / 5', objectFit: 'cover', borderRadius: '12px', border: '1px solid rgba(46, 41, 41, 0.1)', boxShadow: '0 18px 40px rgba(46, 41, 41, 0.08)' }} width="1122" height="1402" data-path="images/features/image-generation-cover.png" />
        </div>
      </div>
    </div>
  </div>
</div>

### 2. 1 枚の画像を編集する

画像をアップロードし、重要な部分は残したまま、詳細、レイアウト、背景、スタイル、または一部の領域を変更するよう Happycapy に依頼します。

<div style={{ display: 'grid', gridTemplateColumns: 'repeat(auto-fit, minmax(250px, 1fr))', gap: '1rem', margin: '1rem 0 2rem' }}>
  <div style={{ gridColumn: '1 / -1', border: '1px solid rgba(46, 41, 41, 0.1)', borderRadius: '12px', overflow: 'hidden', background: '#fffdf9' }}>
    <div style={{ padding: '1.1rem' }}>
      <div style={{ fontSize: '0.78rem', textTransform: 'uppercase', letterSpacing: '0.08em', color: '#df7657', fontWeight: 750 }}>Edit an image</div>
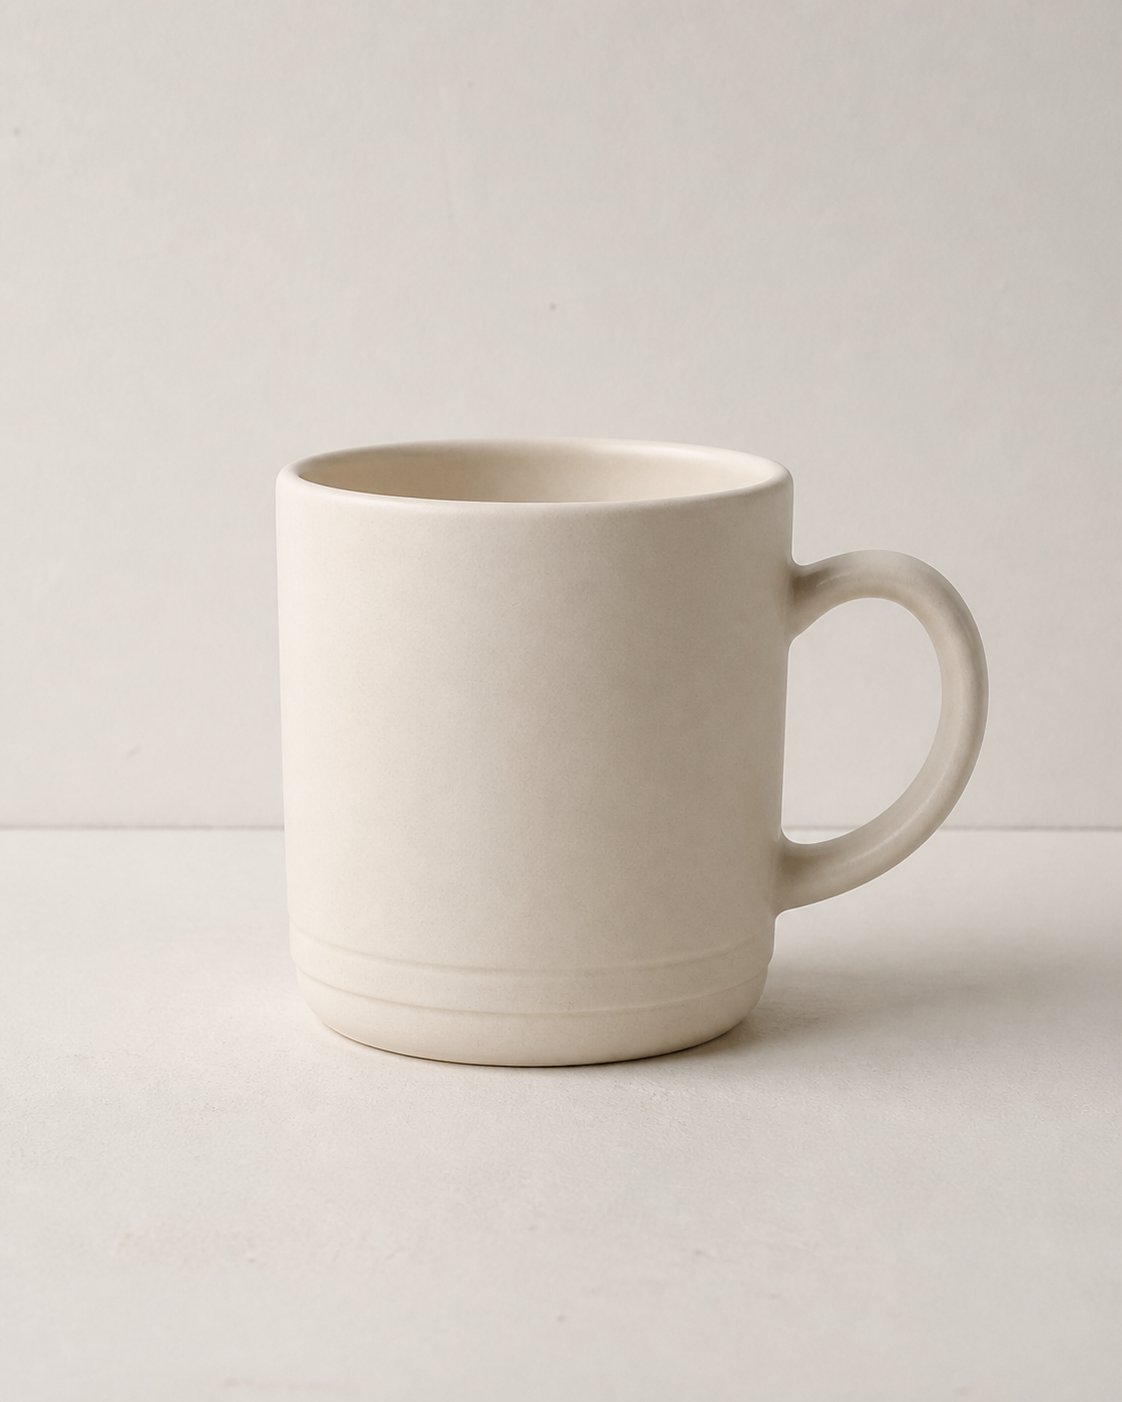
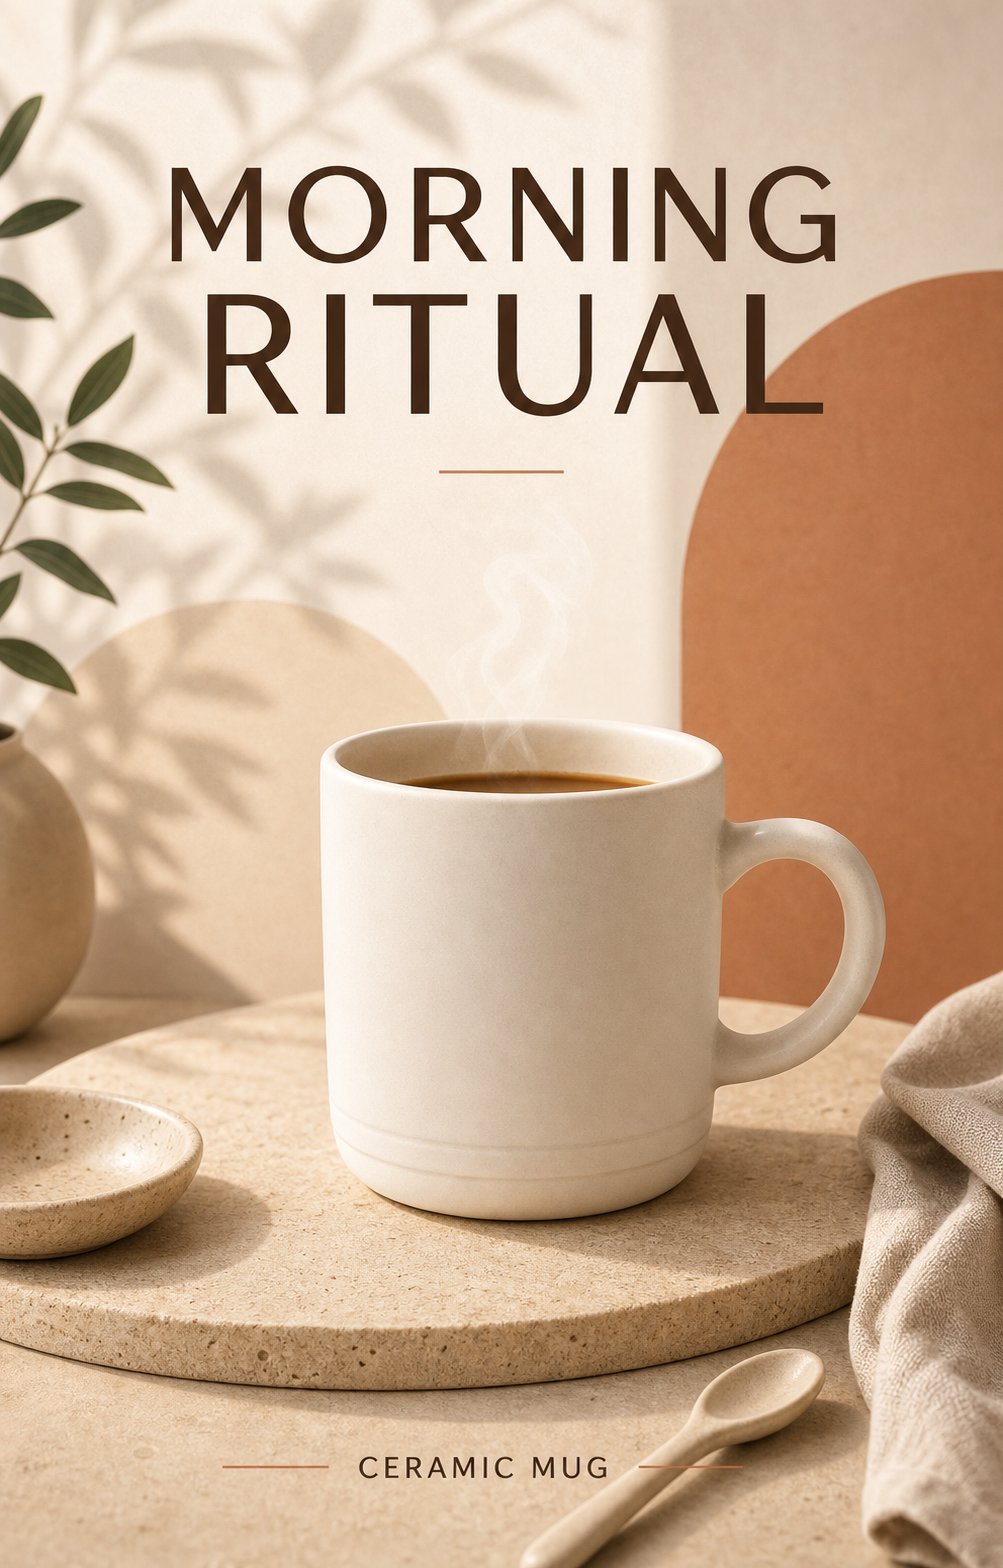
      <h3 style={{ margin: '0.35rem 0 0.55rem', fontSize: '1.3rem' }}>普通の商品写真をキャンペーンポスターにする</h3>
      <p style={{ margin: '0 0 1rem', color: '#6e6861', fontSize: '0.95rem', lineHeight: 1.55 }}>シンプルな商品写真をアップロードします。対象物は認識できるままにして、レイアウト、照明、小物、ポスター文字を変更します。</p>

      <div style={{ display: 'grid', gridTemplateColumns: 'repeat(2, minmax(0, 1fr))', gap: '0.75rem', marginBottom: '1rem' }}>
        <div>
          <img src="https://mintcdn.com/happycapy/h9_vLtvDfrXu5HTP/images/features/image-edit-before-mug.png?fit=max&auto=format&n=h9_vLtvDfrXu5HTP&q=85&s=c9771a04ae657bda4f79e9184324364c" alt="編集前のシンプルなマグカップ商品写真" style={{ display: 'block', width: '100%', aspectRatio: '4 / 5', objectFit: 'cover', borderRadius: '12px', border: '1px solid rgba(46, 41, 41, 0.1)' }} width="1122" height="1402" data-path="images/features/image-edit-before-mug.png" />

          <div style={{ marginTop: '0.45rem', color: '#8a8178', fontSize: '0.78rem', fontWeight: 700, textTransform: 'uppercase', letterSpacing: '0.08em' }}>Before</div>
        </div>

        <div>
          <img src="https://mintcdn.com/happycapy/h9_vLtvDfrXu5HTP/images/features/image-edit-after-mug-poster.png?fit=max&auto=format&n=h9_vLtvDfrXu5HTP&q=85&s=8ae661da753de93bf6633785b41ff6da" alt="マグカップ写真を編集して作ったキャンペーンポスター" style={{ display: 'block', width: '100%', aspectRatio: '4 / 5', objectFit: 'cover', borderRadius: '12px', border: '1px solid rgba(46, 41, 41, 0.1)', boxShadow: '0 18px 40px rgba(46, 41, 41, 0.08)' }} width="1003" height="1568" data-path="images/features/image-edit-after-mug-poster.png" />

          <div style={{ marginTop: '0.45rem', color: '#df7657', fontSize: '0.78rem', fontWeight: 750, textTransform: 'uppercase', letterSpacing: '0.08em' }}>After</div>
        </div>
      </div>

      <div style={{ padding: '0.85rem', borderRadius: '9px', background: '#f8f6f2', color: '#4d4640', fontSize: '0.86rem', lineHeight: 1.55 }}>
        <p style={{ margin: '0 0 0.65rem', color: '#8a8178', fontWeight: 700 }}>Happycapy に依頼する</p>
        <code style={{ whiteSpace: 'pre-wrap' }}>Edit the uploaded product photo.{"\n\n"}Keep the mug recognizable, but turn it into a 4:5 product campaign poster. Add clear poster typography with the headline “MORNING RITUAL” and the small label “CERAMIC MUG”.{"\n\n"}Use warm studio lighting, a premium editorial layout, soft shadows, and simple lifestyle props. Save it as outputs/mug-campaign-poster.png.</code>
      </div>
    </div>
  </div>
</div>

### 3. 参照画像を組み合わせる

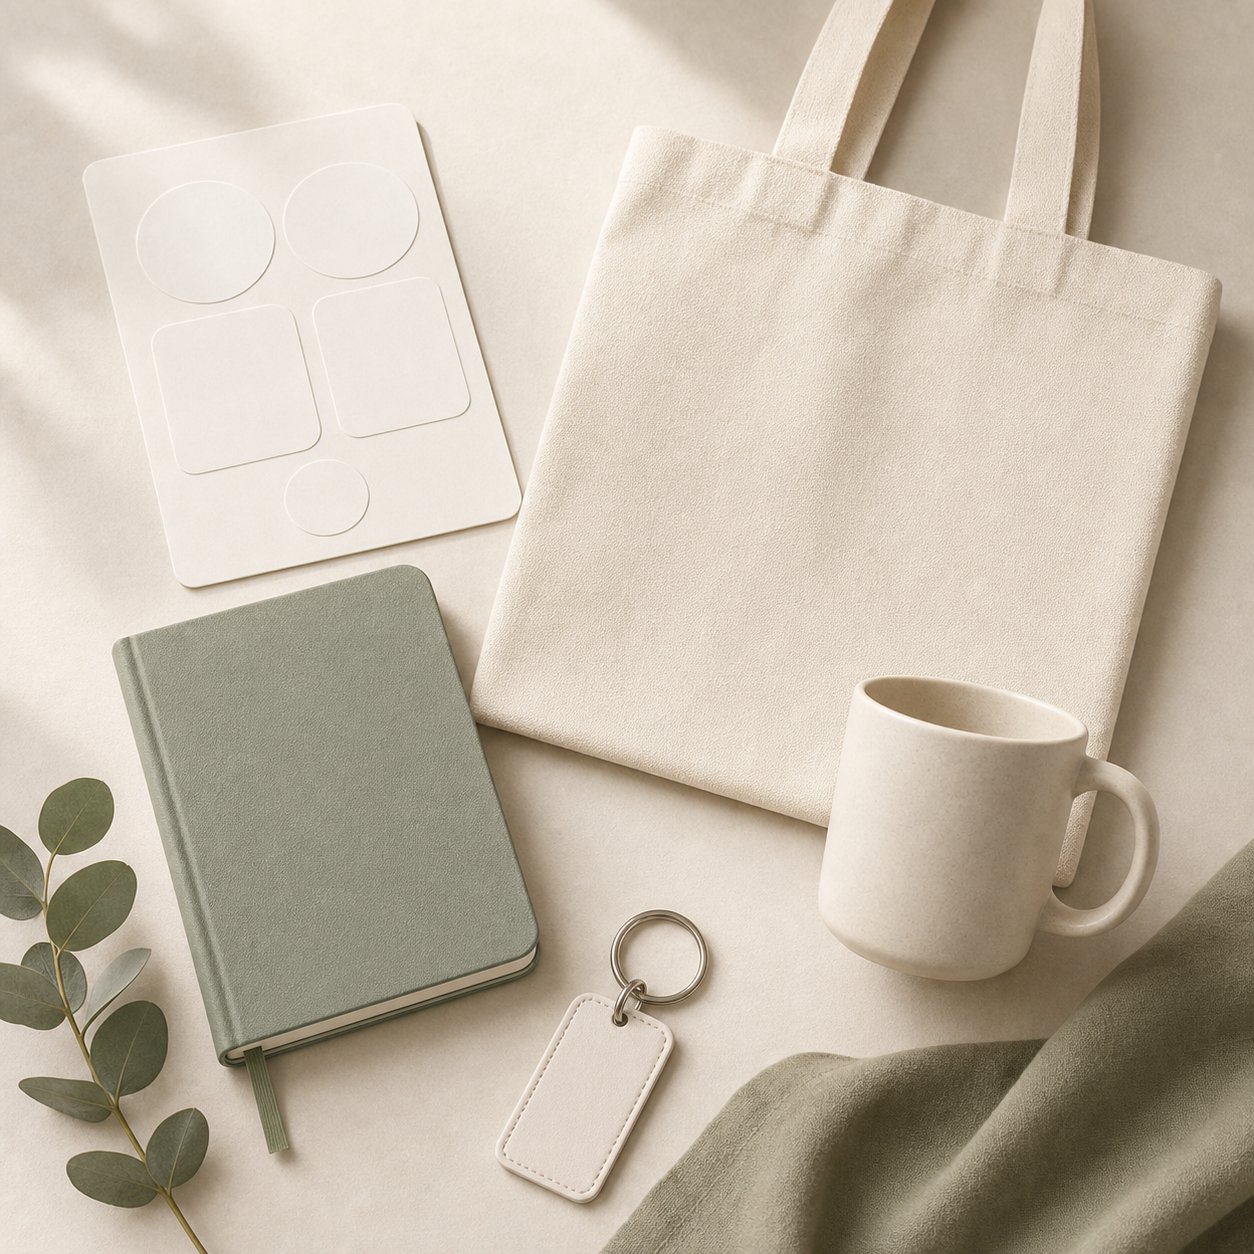
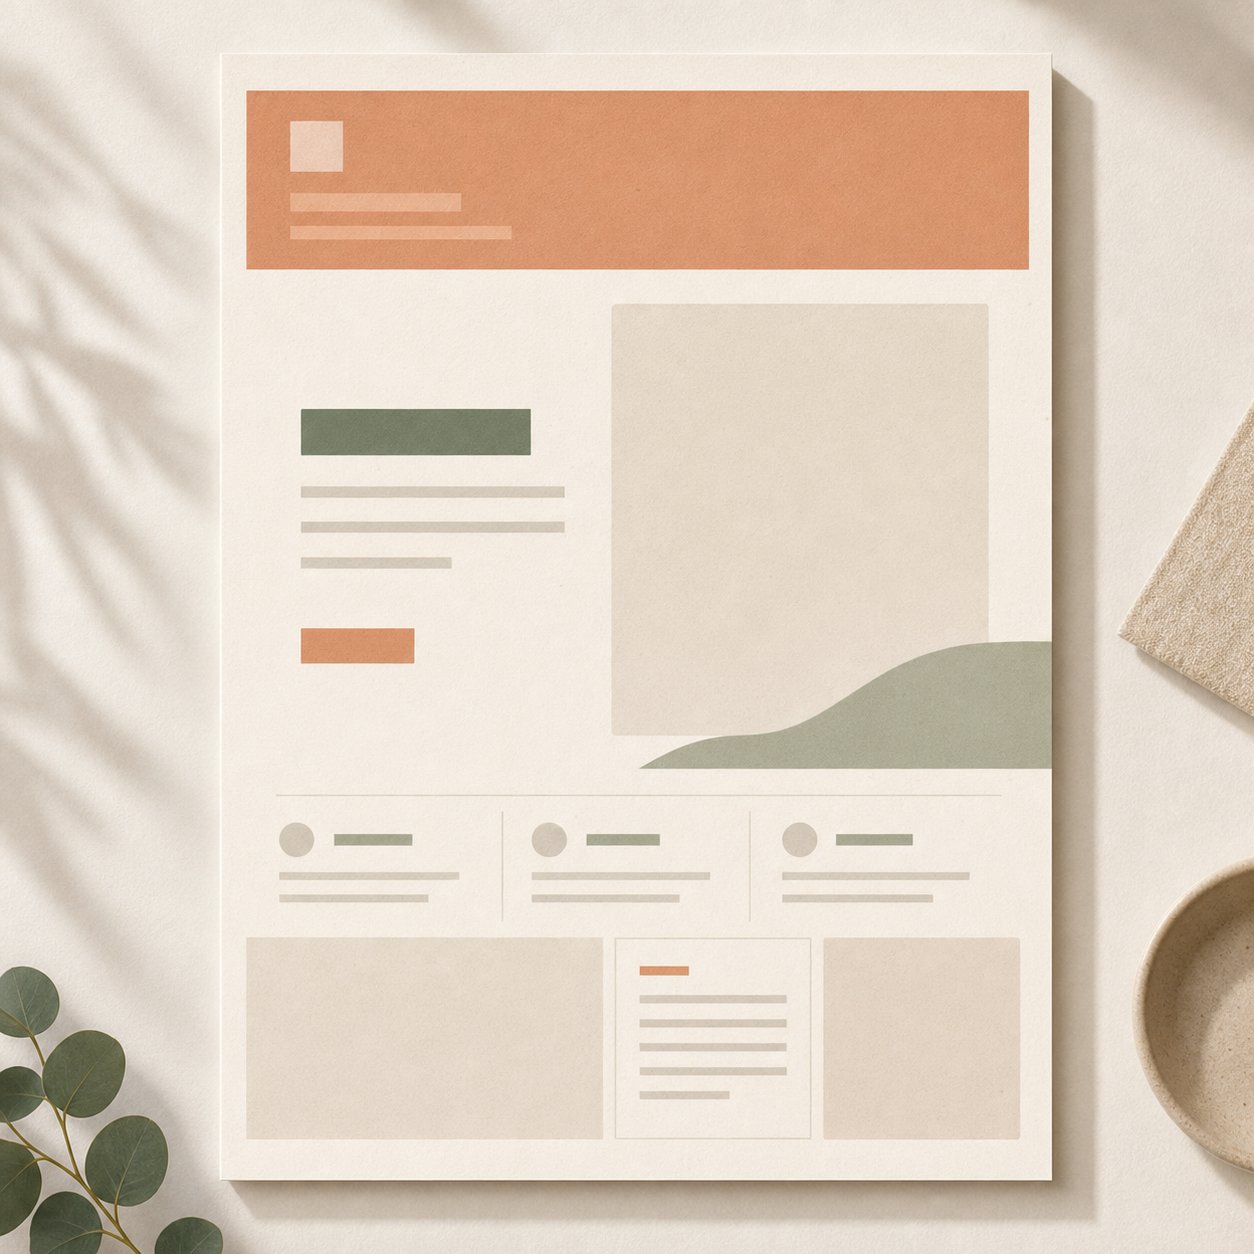
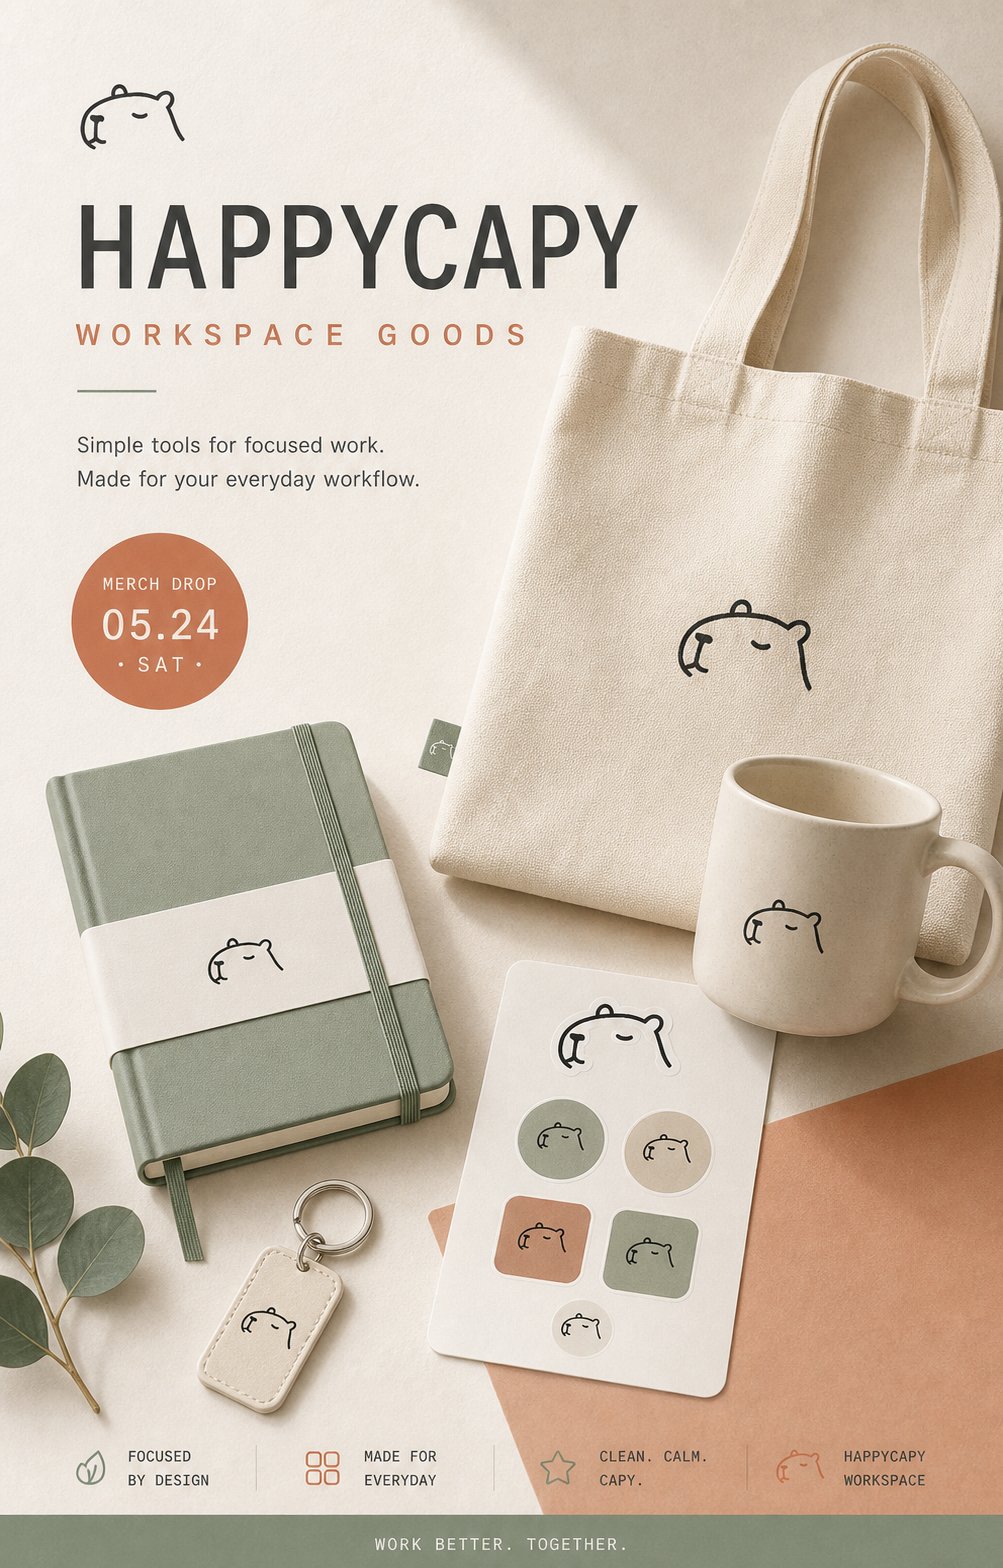
複数の画像をアップロードし、それぞれが何を制御するかを Happycapy に伝えます。ブランドマーク、被写体、素材、雰囲気、レイアウト、シーンなどです。

<div style={{ display: 'grid', gridTemplateColumns: 'repeat(auto-fit, minmax(250px, 1fr))', gap: '1rem', margin: '1rem 0 2rem' }}>
  <div style={{ gridColumn: '1 / -1', border: '1px solid rgba(46, 41, 41, 0.1)', borderRadius: '12px', overflow: 'hidden', background: '#fffdf9' }}>
    <div style={{ padding: '1.1rem' }}>
      <div style={{ fontSize: '0.78rem', textTransform: 'uppercase', letterSpacing: '0.08em', color: '#df7657', fontWeight: 750 }}>Multi-reference</div>
      <h3 style={{ margin: '0.35rem 0 0.55rem', fontSize: '1.3rem' }}>3 つの参照画像からグッズキャンペーンを作る</h3>
      <p style={{ margin: '0 0 1rem', color: '#6e6861', fontSize: '0.95rem', lineHeight: 1.55 }}>1 枚はブランドマーク、1 枚はグッズ、1 枚はキャンペーンの雰囲気を制御します。各参照の役割を明確に伝えます。</p>

      <div style={{ display: 'grid', gridTemplateColumns: 'repeat(auto-fit, minmax(260px, 1fr))', gap: '1.25rem', alignItems: 'start' }}>
        <div style={{ display: 'grid', gap: '0.75rem' }}>
          <div style={{ display: 'grid', gridTemplateColumns: '84px minmax(0, 1fr)', gap: '0.75rem', alignItems: 'center', padding: '0.7rem', borderRadius: '10px', background: '#f8f6f2' }}>
            <img src="https://mintcdn.com/happycapy/h9_vLtvDfrXu5HTP/images/features/image-ref-happycapy-logo.png?fit=max&auto=format&n=h9_vLtvDfrXu5HTP&q=85&s=ff2087580b0aecea61c9d618db21db41" alt="Happycapy ロゴ参照" style={{ display: 'block', width: '84px', height: '84px', objectFit: 'cover', borderRadius: '8px', border: '1px solid rgba(46, 41, 41, 0.1)' }} width="1254" height="1254" data-path="images/features/image-ref-happycapy-logo.png" />

            <div>
              <div style={{ color: '#df7657', fontSize: '0.78rem', fontWeight: 750, textTransform: 'uppercase', letterSpacing: '0.08em' }}>Image 1</div>
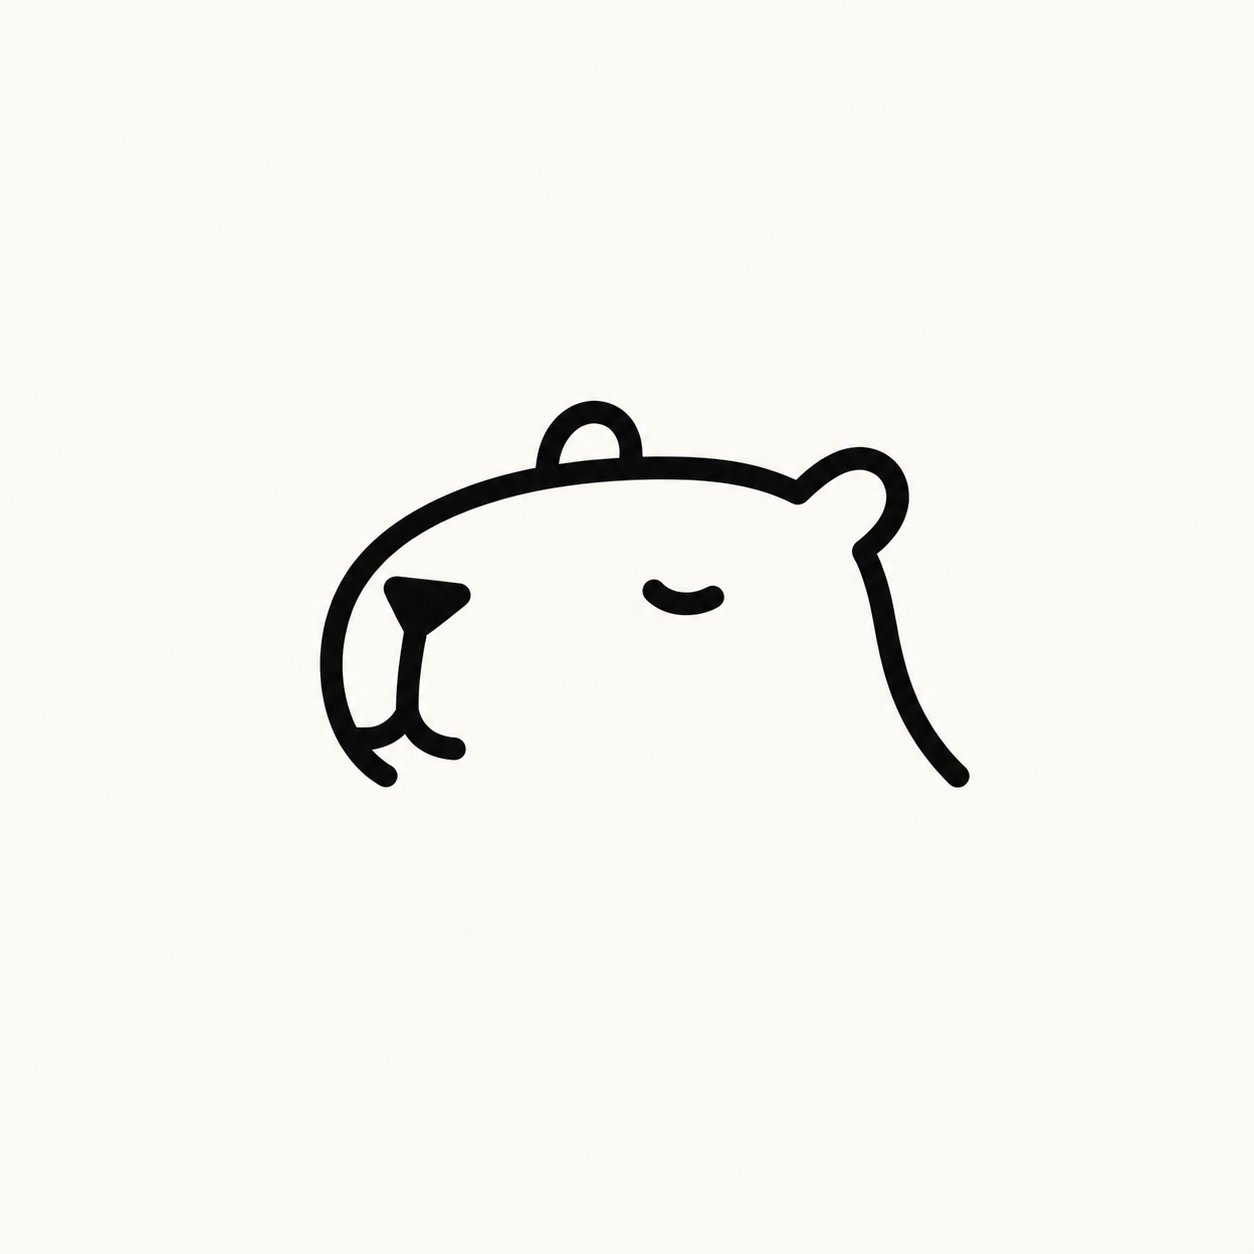
              <p style={{ margin: '0.2rem 0 0', color: '#4d4640', fontSize: '0.88rem', lineHeight: 1.45 }}>Happycapy のブランドマークとラインアイコンの雰囲気を制御します。</p>
            </div>
          </div>

          <div style={{ display: 'grid', gridTemplateColumns: '84px minmax(0, 1fr)', gap: '0.75rem', alignItems: 'center', padding: '0.7rem', borderRadius: '10px', background: '#f8f6f2' }}>
            <img src="https://mintcdn.com/happycapy/h9_vLtvDfrXu5HTP/images/features/image-ref-merch-objects.png?fit=max&auto=format&n=h9_vLtvDfrXu5HTP&q=85&s=ade0a16c4a6c926d10e030ac59f88dd5" alt="無地のグッズオブジェクト参照" style={{ display: 'block', width: '84px', height: '84px', objectFit: 'cover', borderRadius: '8px', border: '1px solid rgba(46, 41, 41, 0.1)' }} width="1254" height="1254" data-path="images/features/image-ref-merch-objects.png" />

            <div>
              <div style={{ color: '#df7657', fontSize: '0.78rem', fontWeight: 750, textTransform: 'uppercase', letterSpacing: '0.08em' }}>Image 2</div>
              <p style={{ margin: '0.2rem 0 0', color: '#4d4640', fontSize: '0.88rem', lineHeight: 1.45 }}>グッズ、素材、商品視点を制御します。</p>
            </div>
          </div>

          <div style={{ display: 'grid', gridTemplateColumns: '84px minmax(0, 1fr)', gap: '0.75rem', alignItems: 'center', padding: '0.7rem', borderRadius: '10px', background: '#f8f6f2' }}>
            <img src="https://mintcdn.com/happycapy/h9_vLtvDfrXu5HTP/images/features/image-ref-campaign-layout.png?fit=max&auto=format&n=h9_vLtvDfrXu5HTP&q=85&s=c50a41ca0494509b045195a9b4caa4fd" alt="キャンペーンレイアウトと雰囲気の参照" style={{ display: 'block', width: '84px', height: '84px', objectFit: 'cover', borderRadius: '8px', border: '1px solid rgba(46, 41, 41, 0.1)' }} width="1254" height="1254" data-path="images/features/image-ref-campaign-layout.png" />

            <div>
              <div style={{ color: '#df7657', fontSize: '0.78rem', fontWeight: 750, textTransform: 'uppercase', letterSpacing: '0.08em' }}>Image 3</div>
              <p style={{ margin: '0.2rem 0 0', color: '#4d4640', fontSize: '0.88rem', lineHeight: 1.45 }}>ポスターの雰囲気、色、光、レイアウトを制御します。</p>
            </div>
          </div>
        </div>

        <div style={{ justifySelf: 'center', width: 'min(100%, 360px)' }}>
          <img src="https://mintcdn.com/happycapy/h9_vLtvDfrXu5HTP/images/features/image-output-happycapy-merch-poster.png?fit=max&auto=format&n=h9_vLtvDfrXu5HTP&q=85&s=ba7da75274a135ea40693b614999f892" alt="生成された Happycapy グッズキャンペーンポスター" style={{ display: 'block', width: '100%', aspectRatio: '4 / 5', objectFit: 'cover', objectPosition: 'center top', borderRadius: '12px', border: '1px solid rgba(46, 41, 41, 0.1)', boxShadow: '0 18px 40px rgba(46, 41, 41, 0.08)' }} width="1003" height="1568" data-path="images/features/image-output-happycapy-merch-poster.png" />
        </div>
      </div>

      <div style={{ marginTop: '1rem', padding: '0.85rem', borderRadius: '9px', background: '#f8f6f2', color: '#4d4640', fontSize: '0.86rem', lineHeight: 1.55 }}>
        <p style={{ margin: '0 0 0.65rem', color: '#8a8178', fontWeight: 700 }}>Happycapy に依頼する</p>
        <code style={{ whiteSpace: 'pre-wrap' }}>Use image 1 as the Happycapy brand mark reference. Keep the simple capybara line icon recognizable, but use it as a tasteful logo on the products.{"\n\n"}Use image 2 to control the merch objects, materials, and product perspective. Use image 3 to control the campaign mood, color palette, lighting, and layout.{"\n\n"}Create one 4:5 editorial campaign poster for a fictional Happycapy merch drop. Show the logo applied to the merch objects in a clean, premium way. Save it as outputs/happycapy-merch-campaign.png.</code>
      </div>
    </div>
  </div>
</div>

## 関連リソース

* [Files](/ja/features/files): Project 内でアップロードした参照画像、生成画像、`outputs/` ファイルを管理します。
* [AI Image Generator](https://happycapy.ai/tools/ai-image-generator): 画像プロンプトのアイデアを見たり、画像生成を直接試したりできます。