> ## Documentation Index
> Fetch the complete documentation index at: https://docs.happycapy.ai/llms.txt
> Use this file to discover all available pages before exploring further.

# Création et édition d’images

> Créer, modifier, combiner et préparer des images de référence dans un Project

## Qu’est-ce que la création et l’édition d’images ?

La création et l’édition d’images vous permettent de générer de nouvelles images, de modifier des images existantes et de combiner plusieurs références visuelles dans un Project. Utilisez-les pour des couvertures, visuels produit, assets de campagne, images de référence pour vidéo et autres visuels statiques à conserver avec vos fichiers.

Commencez par le résultat voulu, pas par le nom d’un modèle. Happycapy peut choisir le bon chemin, enregistrer la sortie dans Files et garder prompts, références et images générées ensemble pour les sessions suivantes.

## Trois façons de commencer

Choisissez l’entrée que vous avez déjà : du texte, une image ou plusieurs références.

### 1. Commencer avec du texte

Décrivez l’image que vous voulez. Happycapy peut la générer et l’enregistrer avec le reste des fichiers du Project.

<div style={{ display: 'grid', gridTemplateColumns: 'repeat(auto-fit, minmax(250px, 1fr))', gap: '1rem', margin: '1rem 0 2rem' }}>
  <div style={{ gridColumn: '1 / -1', border: '1px solid rgba(46, 41, 41, 0.1)', borderRadius: '12px', overflow: 'hidden', background: '#fffdf9' }}>
    <div style={{ padding: '1.1rem' }}>
      <div style={{ fontSize: '0.78rem', textTransform: 'uppercase', letterSpacing: '0.08em', color: '#df7657', fontWeight: 750 }}>Text to image</div>
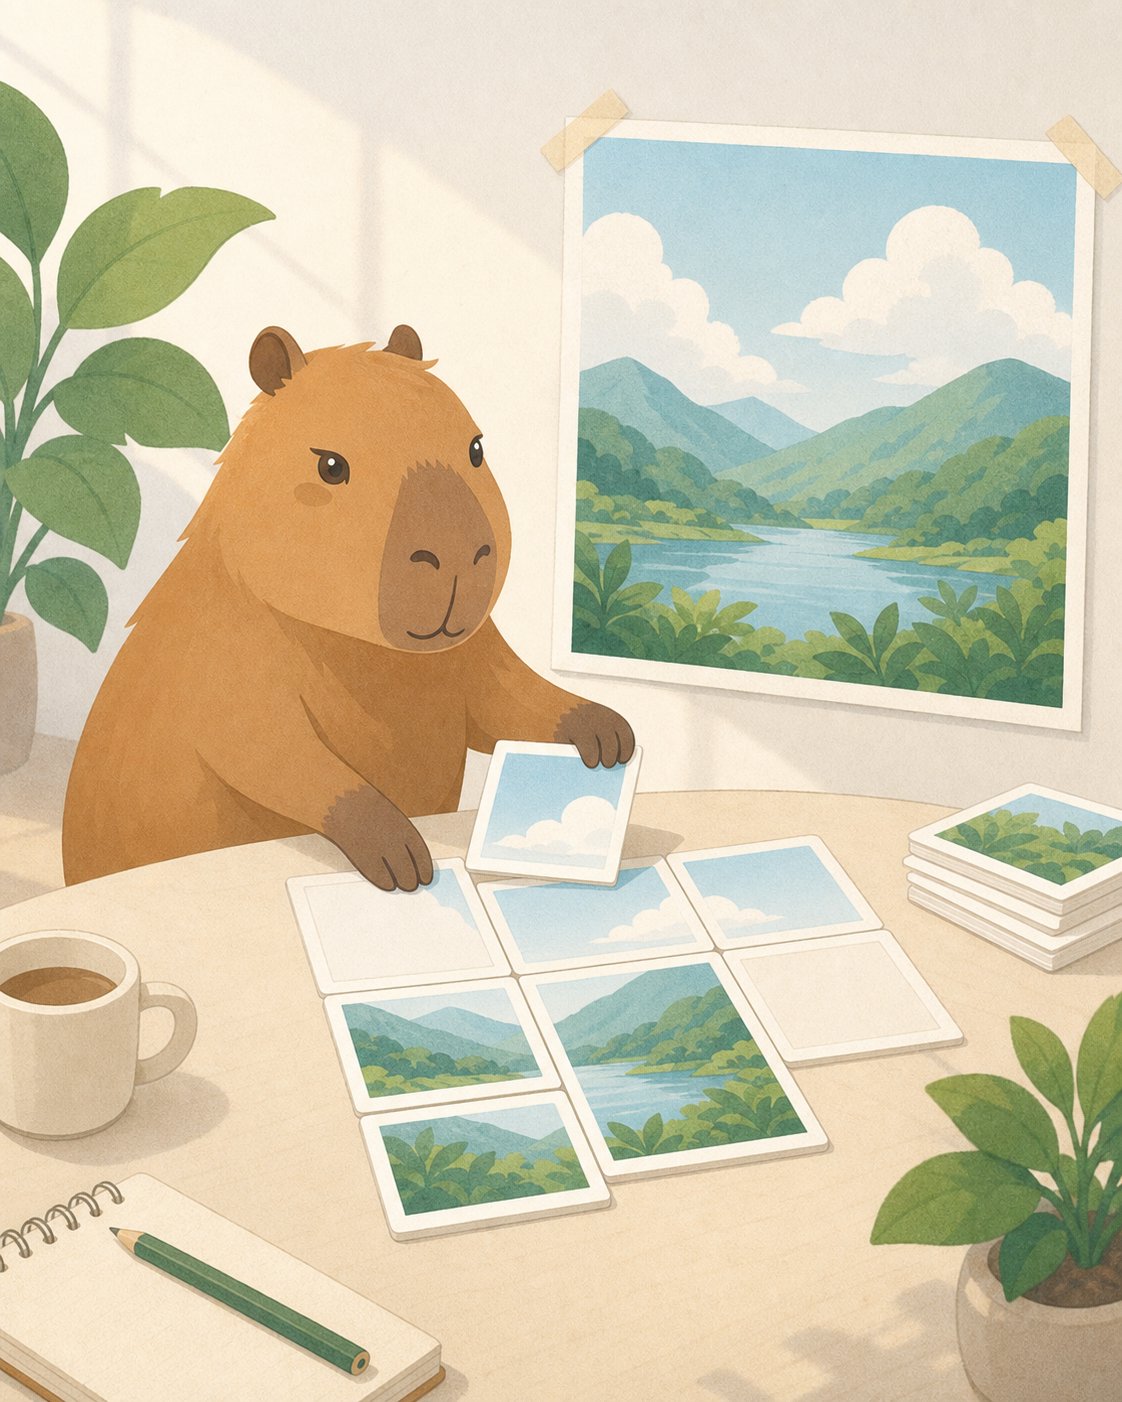
      <h3 style={{ margin: '0.35rem 0 0.55rem', fontSize: '1.3rem' }}>Créer une couverture de documentation à partir de texte</h3>
      <p style={{ margin: '0 0 1rem', color: '#6e6861', fontSize: '0.95rem', lineHeight: 1.55 }}>Commencez par l’image finale que vous souhaitez. Happycapy peut générer l’illustration et l’enregistrer avec les autres fichiers du Project.</p>

      <div style={{ display: 'grid', gridTemplateColumns: 'repeat(auto-fit, minmax(240px, 1fr))', gap: '1.25rem', alignItems: 'stretch' }}>
        <div style={{ height: '100%', padding: '0.85rem', borderRadius: '9px', background: '#f8f6f2', color: '#4d4640', fontSize: '0.86rem', lineHeight: 1.55 }}>
          <p style={{ margin: '0 0 0.65rem', color: '#8a8178', fontWeight: 700 }}>Demander à Happycapy</p>
          <code style={{ whiteSpace: 'pre-wrap' }}>Create a 4:5 Happycapy-style illustration for a docs page about image generation.{"\n\n"}Show a calm capybara arranging blank image cards into one finished artwork. Use bright daylight, clean editorial illustration, paper grain, and no readable text.{"\n\n"}Save it as outputs/image-generation-cover.png.</code>
        </div>

        <div style={{ justifySelf: 'center', alignSelf: 'start', width: 'min(100%, 340px)', margin: 0 }}>
          <img src="https://mintcdn.com/happycapy/h9_vLtvDfrXu5HTP/images/features/image-generation-cover.png?fit=max&auto=format&n=h9_vLtvDfrXu5HTP&q=85&s=48b5fdecf36daa6805587c4d5d30ab86" alt="Illustration Happycapy générée pour une page de documentation sur la création d’images" style={{ display: 'block', width: '100%', margin: 0, aspectRatio: '4 / 5', objectFit: 'cover', borderRadius: '12px', border: '1px solid rgba(46, 41, 41, 0.1)', boxShadow: '0 18px 40px rgba(46, 41, 41, 0.08)' }} width="1122" height="1402" data-path="images/features/image-generation-cover.png" />
        </div>
      </div>
    </div>
  </div>
</div>

### 2. Modifier une image

Importez une image et demandez à Happycapy de changer des détails, la mise en page, l’arrière-plan, le style ou des zones locales tout en gardant les éléments importants.

<div style={{ display: 'grid', gridTemplateColumns: 'repeat(auto-fit, minmax(250px, 1fr))', gap: '1rem', margin: '1rem 0 2rem' }}>
  <div style={{ gridColumn: '1 / -1', border: '1px solid rgba(46, 41, 41, 0.1)', borderRadius: '12px', overflow: 'hidden', background: '#fffdf9' }}>
    <div style={{ padding: '1.1rem' }}>
      <div style={{ fontSize: '0.78rem', textTransform: 'uppercase', letterSpacing: '0.08em', color: '#df7657', fontWeight: 750 }}>Edit an image</div>
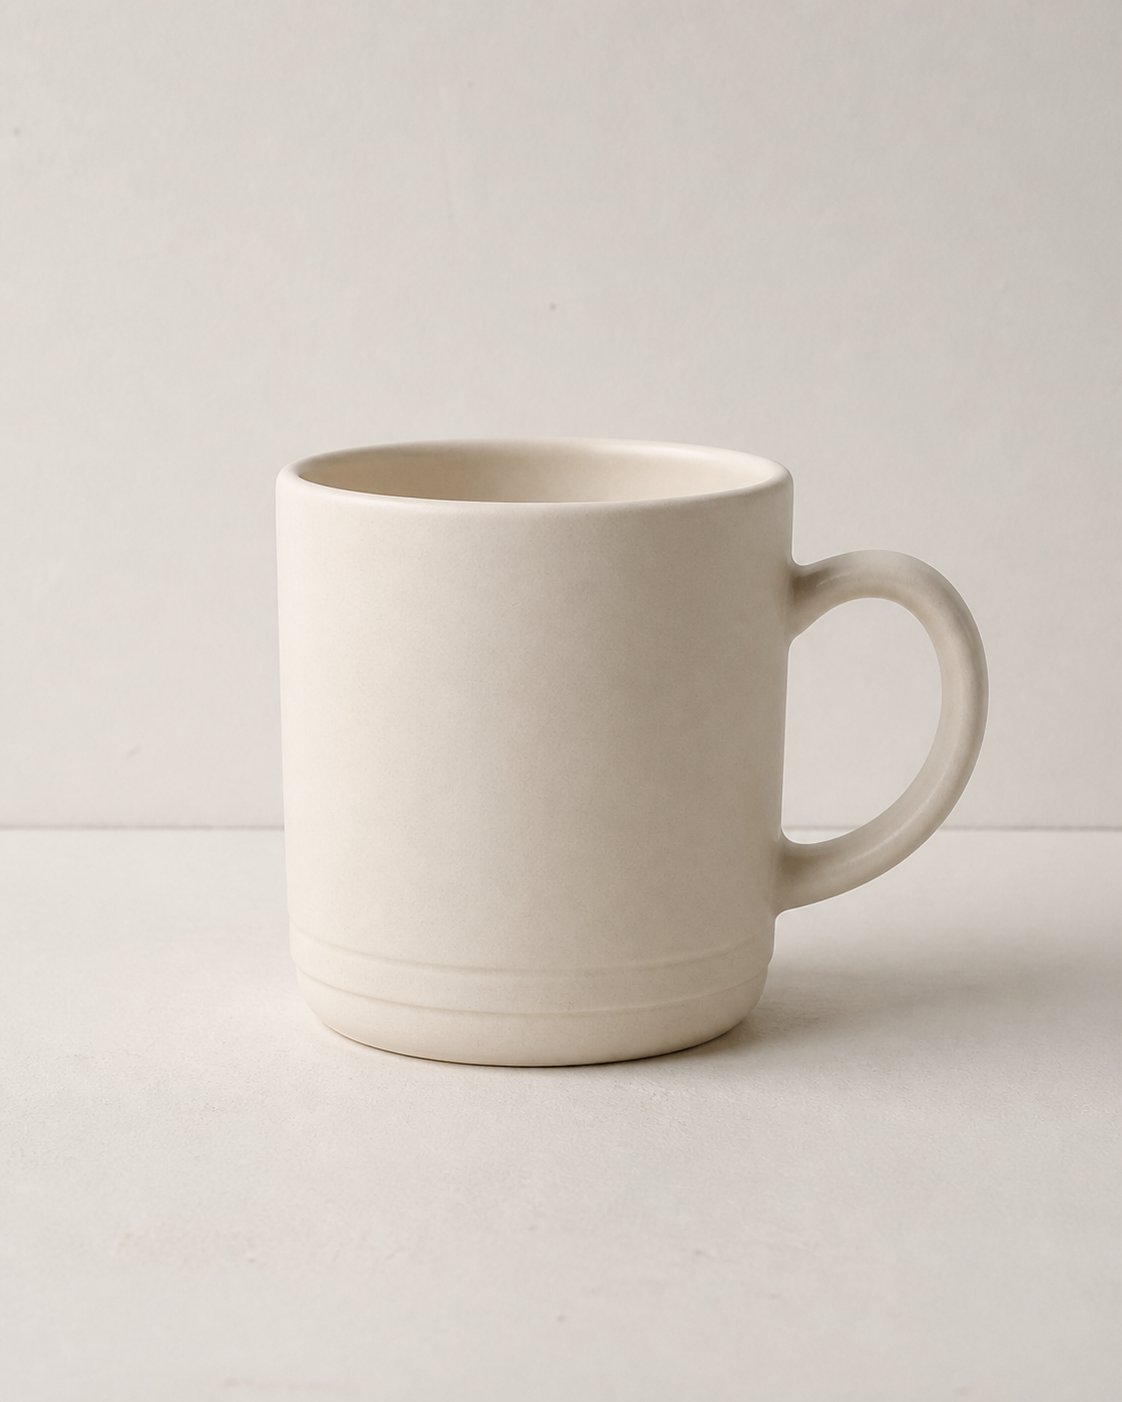
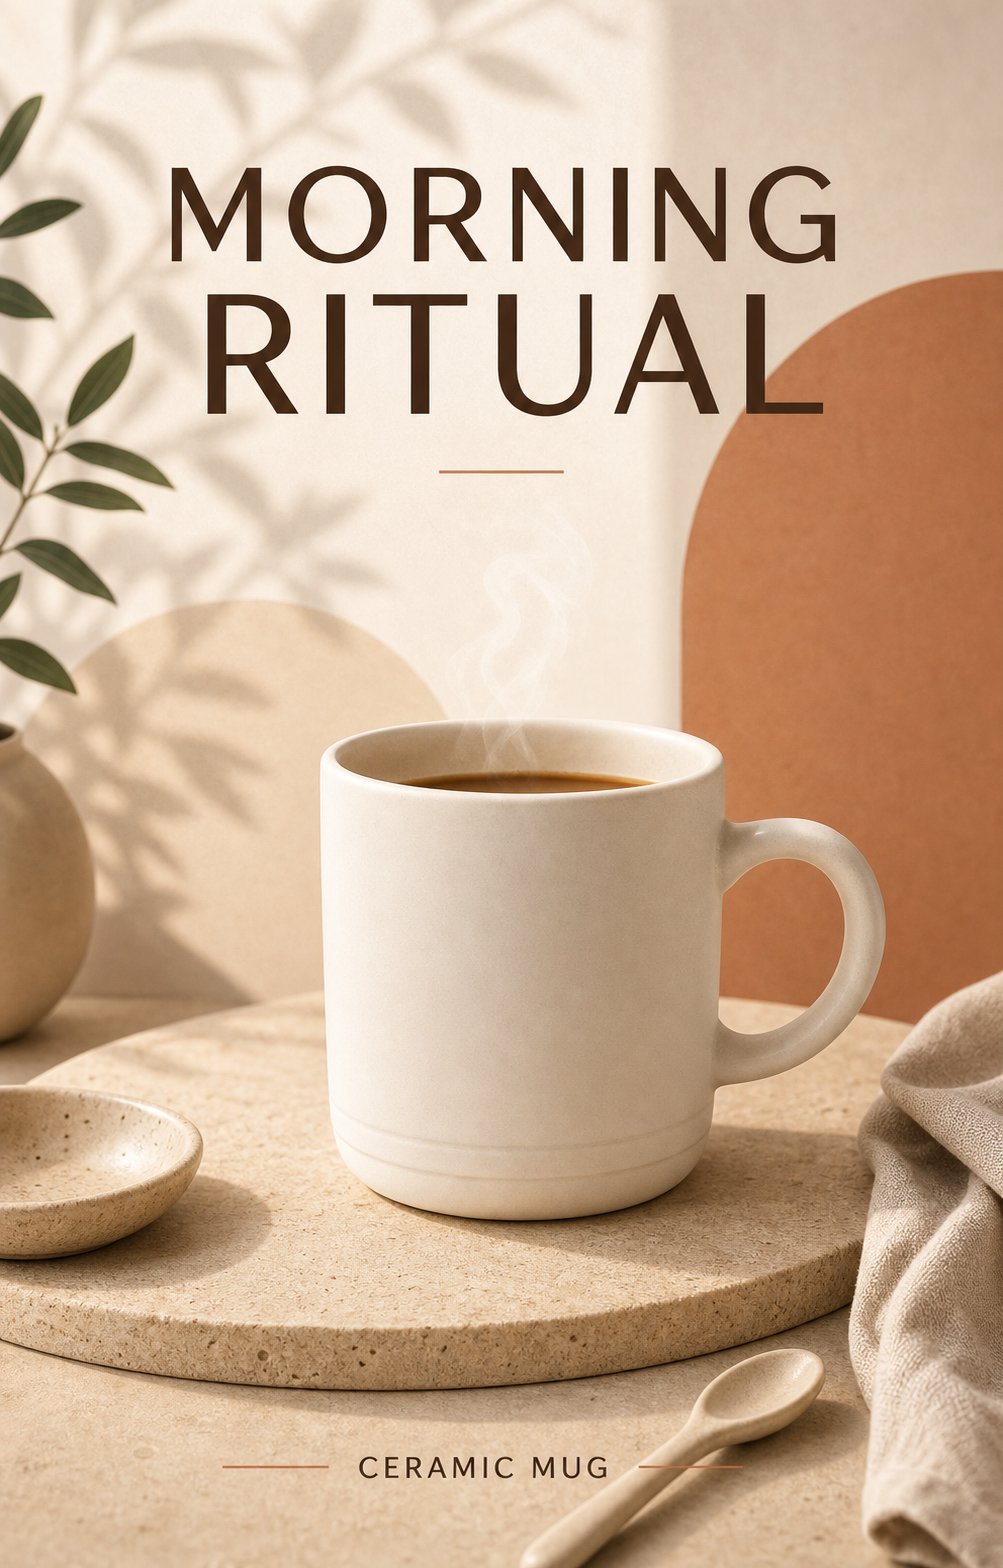
      <h3 style={{ margin: '0.35rem 0 0.55rem', fontSize: '1.3rem' }}>Transformer une photo produit simple en affiche de campagne</h3>
      <p style={{ margin: '0 0 1rem', color: '#6e6861', fontSize: '0.95rem', lineHeight: 1.55 }}>Importez une photo produit simple. Demandez à Happycapy de garder l’objet reconnaissable, puis de modifier la mise en page, la lumière, les accessoires et la typographie.</p>

      <div style={{ display: 'grid', gridTemplateColumns: 'repeat(2, minmax(0, 1fr))', gap: '0.75rem', marginBottom: '1rem' }}>
        <div>
          <img src="https://mintcdn.com/happycapy/h9_vLtvDfrXu5HTP/images/features/image-edit-before-mug.png?fit=max&auto=format&n=h9_vLtvDfrXu5HTP&q=85&s=c9771a04ae657bda4f79e9184324364c" alt="Photo produit simple d’un mug avant édition" style={{ display: 'block', width: '100%', aspectRatio: '4 / 5', objectFit: 'cover', borderRadius: '12px', border: '1px solid rgba(46, 41, 41, 0.1)' }} width="1122" height="1402" data-path="images/features/image-edit-before-mug.png" />

          <div style={{ marginTop: '0.45rem', color: '#8a8178', fontSize: '0.78rem', fontWeight: 700, textTransform: 'uppercase', letterSpacing: '0.08em' }}>Before</div>
        </div>

        <div>
          <img src="https://mintcdn.com/happycapy/h9_vLtvDfrXu5HTP/images/features/image-edit-after-mug-poster.png?fit=max&auto=format&n=h9_vLtvDfrXu5HTP&q=85&s=8ae661da753de93bf6633785b41ff6da" alt="Affiche de campagne après édition de la photo du mug" style={{ display: 'block', width: '100%', aspectRatio: '4 / 5', objectFit: 'cover', borderRadius: '12px', border: '1px solid rgba(46, 41, 41, 0.1)', boxShadow: '0 18px 40px rgba(46, 41, 41, 0.08)' }} width="1003" height="1568" data-path="images/features/image-edit-after-mug-poster.png" />

          <div style={{ marginTop: '0.45rem', color: '#df7657', fontSize: '0.78rem', fontWeight: 750, textTransform: 'uppercase', letterSpacing: '0.08em' }}>After</div>
        </div>
      </div>

      <div style={{ padding: '0.85rem', borderRadius: '9px', background: '#f8f6f2', color: '#4d4640', fontSize: '0.86rem', lineHeight: 1.55 }}>
        <p style={{ margin: '0 0 0.65rem', color: '#8a8178', fontWeight: 700 }}>Demander à Happycapy</p>
        <code style={{ whiteSpace: 'pre-wrap' }}>Edit the uploaded product photo.{"\n\n"}Keep the mug recognizable, but turn it into a 4:5 product campaign poster. Add clear poster typography with the headline “MORNING RITUAL” and the small label “CERAMIC MUG”.{"\n\n"}Use warm studio lighting, a premium editorial layout, soft shadows, and simple lifestyle props. Save it as outputs/mug-campaign-poster.png.</code>
      </div>
    </div>
  </div>
</div>

### 3. Combiner des références

Importez plusieurs images et dites à Happycapy ce que chacune contrôle : marque, sujet, matière, ambiance, mise en page ou scène.

<div style={{ display: 'grid', gridTemplateColumns: 'repeat(auto-fit, minmax(250px, 1fr))', gap: '1rem', margin: '1rem 0 2rem' }}>
  <div style={{ gridColumn: '1 / -1', border: '1px solid rgba(46, 41, 41, 0.1)', borderRadius: '12px', overflow: 'hidden', background: '#fffdf9' }}>
    <div style={{ padding: '1.1rem' }}>
      <div style={{ fontSize: '0.78rem', textTransform: 'uppercase', letterSpacing: '0.08em', color: '#df7657', fontWeight: 750 }}>Multi-reference</div>
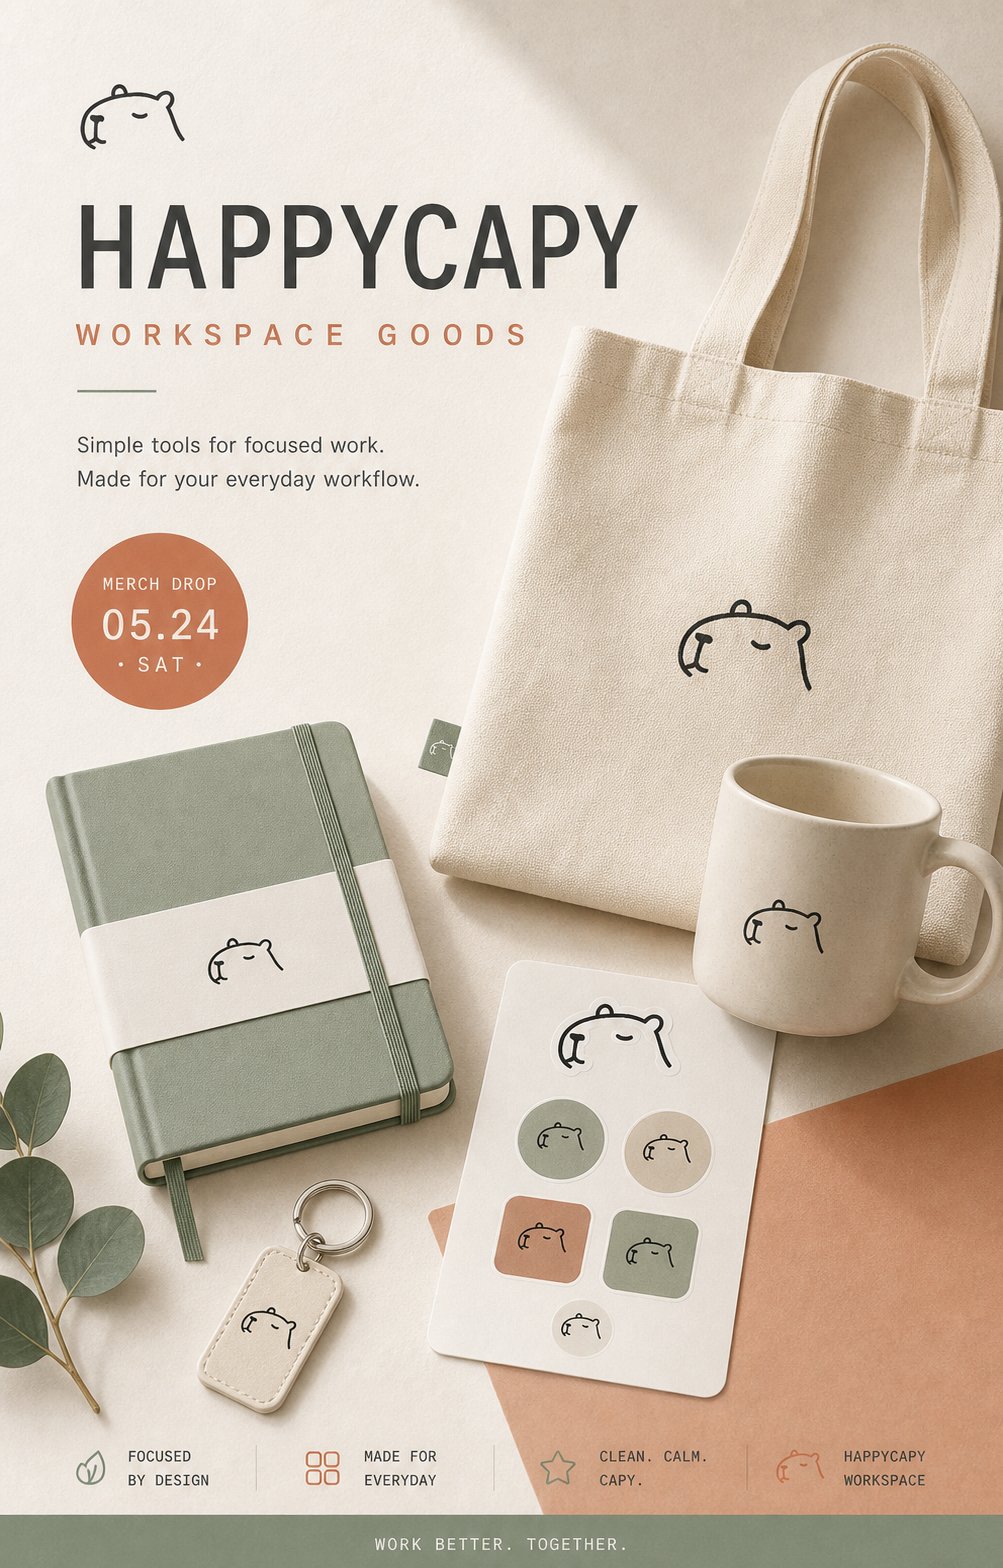
      <h3 style={{ margin: '0.35rem 0 0.55rem', fontSize: '1.3rem' }}>Créer une campagne de merch avec trois références</h3>
      <p style={{ margin: '0 0 1rem', color: '#6e6861', fontSize: '0.95rem', lineHeight: 1.55 }}>Utilisez une image pour la marque, une pour les objets merch et une pour l’ambiance de campagne. Dites à Happycapy ce que chaque référence doit contrôler.</p>

      <div style={{ display: 'grid', gridTemplateColumns: 'repeat(auto-fit, minmax(260px, 1fr))', gap: '1.25rem', alignItems: 'start' }}>
        <div style={{ display: 'grid', gap: '0.75rem' }}>
          <div style={{ display: 'grid', gridTemplateColumns: '84px minmax(0, 1fr)', gap: '0.75rem', alignItems: 'center', padding: '0.7rem', borderRadius: '10px', background: '#f8f6f2' }}>
            <img src="https://mintcdn.com/happycapy/h9_vLtvDfrXu5HTP/images/features/image-ref-happycapy-logo.png?fit=max&auto=format&n=h9_vLtvDfrXu5HTP&q=85&s=ff2087580b0aecea61c9d618db21db41" alt="Référence du logo Happycapy" style={{ display: 'block', width: '84px', height: '84px', objectFit: 'cover', borderRadius: '8px', border: '1px solid rgba(46, 41, 41, 0.1)' }} width="1254" height="1254" data-path="images/features/image-ref-happycapy-logo.png" />

            <div>
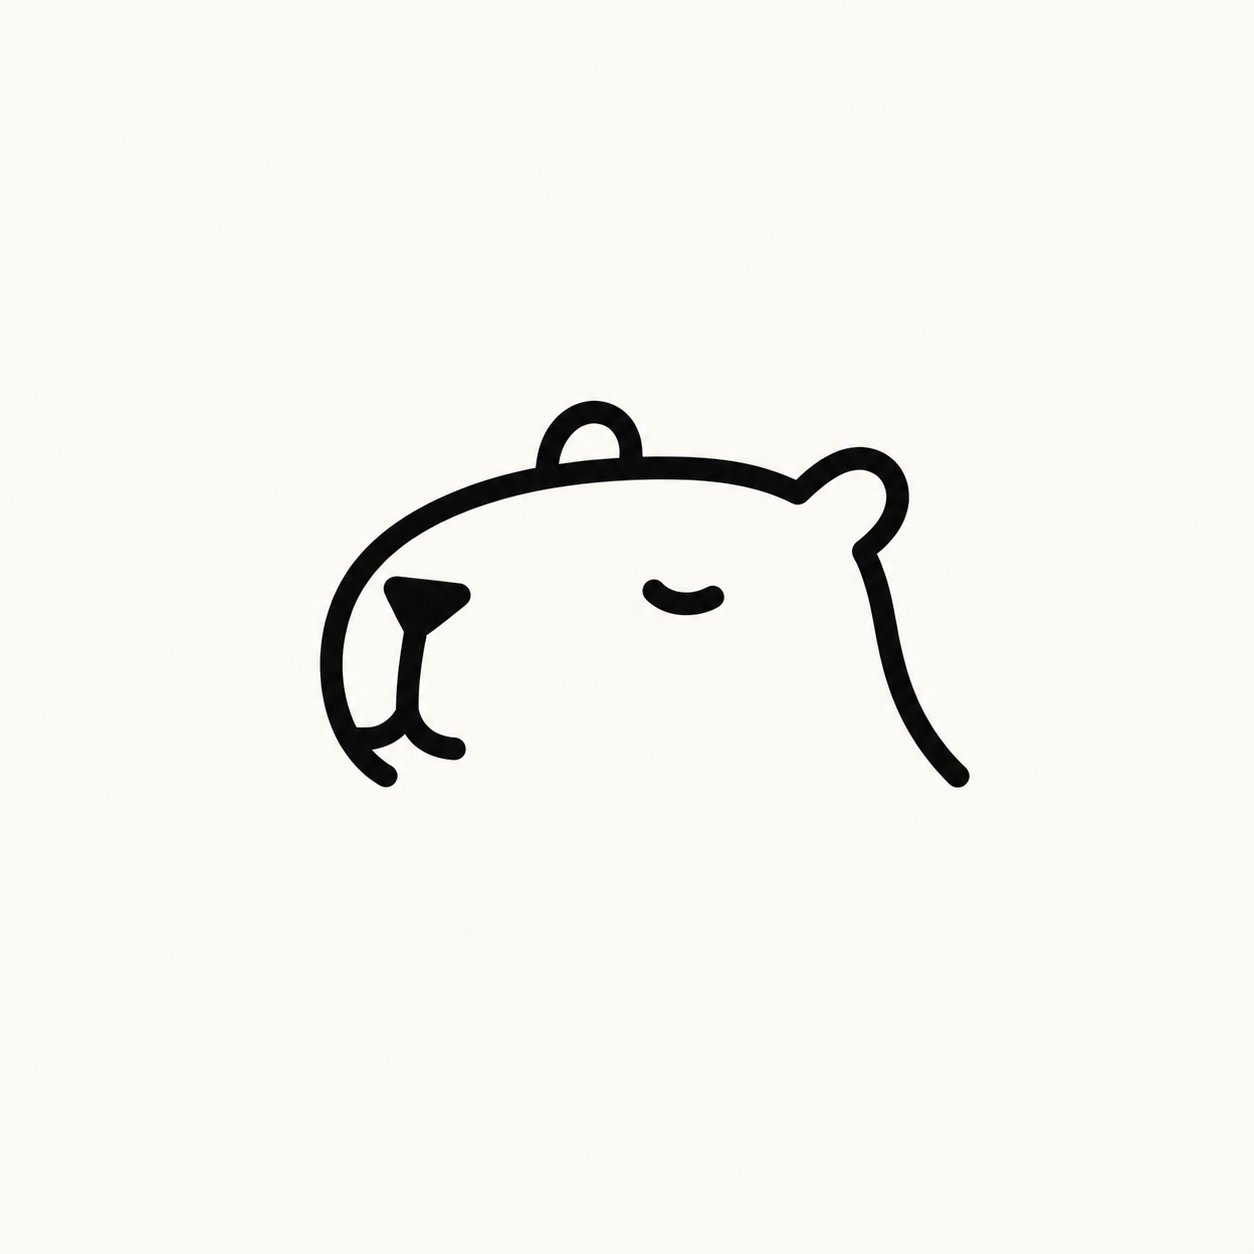
              <div style={{ color: '#df7657', fontSize: '0.78rem', fontWeight: 750, textTransform: 'uppercase', letterSpacing: '0.08em' }}>Image 1</div>
              <p style={{ margin: '0.2rem 0 0', color: '#4d4640', fontSize: '0.88rem', lineHeight: 1.45 }}>Contrôle la marque Happycapy et l’identité en icône linéaire.</p>
            </div>
          </div>

          <div style={{ display: 'grid', gridTemplateColumns: '84px minmax(0, 1fr)', gap: '0.75rem', alignItems: 'center', padding: '0.7rem', borderRadius: '10px', background: '#f8f6f2' }}>
            <img src="https://mintcdn.com/happycapy/h9_vLtvDfrXu5HTP/images/features/image-ref-merch-objects.png?fit=max&auto=format&n=h9_vLtvDfrXu5HTP&q=85&s=ade0a16c4a6c926d10e030ac59f88dd5" alt="Référence d’objets merch vierges" style={{ display: 'block', width: '84px', height: '84px', objectFit: 'cover', borderRadius: '8px', border: '1px solid rgba(46, 41, 41, 0.1)' }} width="1254" height="1254" data-path="images/features/image-ref-merch-objects.png" />

            <div>
              <div style={{ color: '#df7657', fontSize: '0.78rem', fontWeight: 750, textTransform: 'uppercase', letterSpacing: '0.08em' }}>Image 2</div>
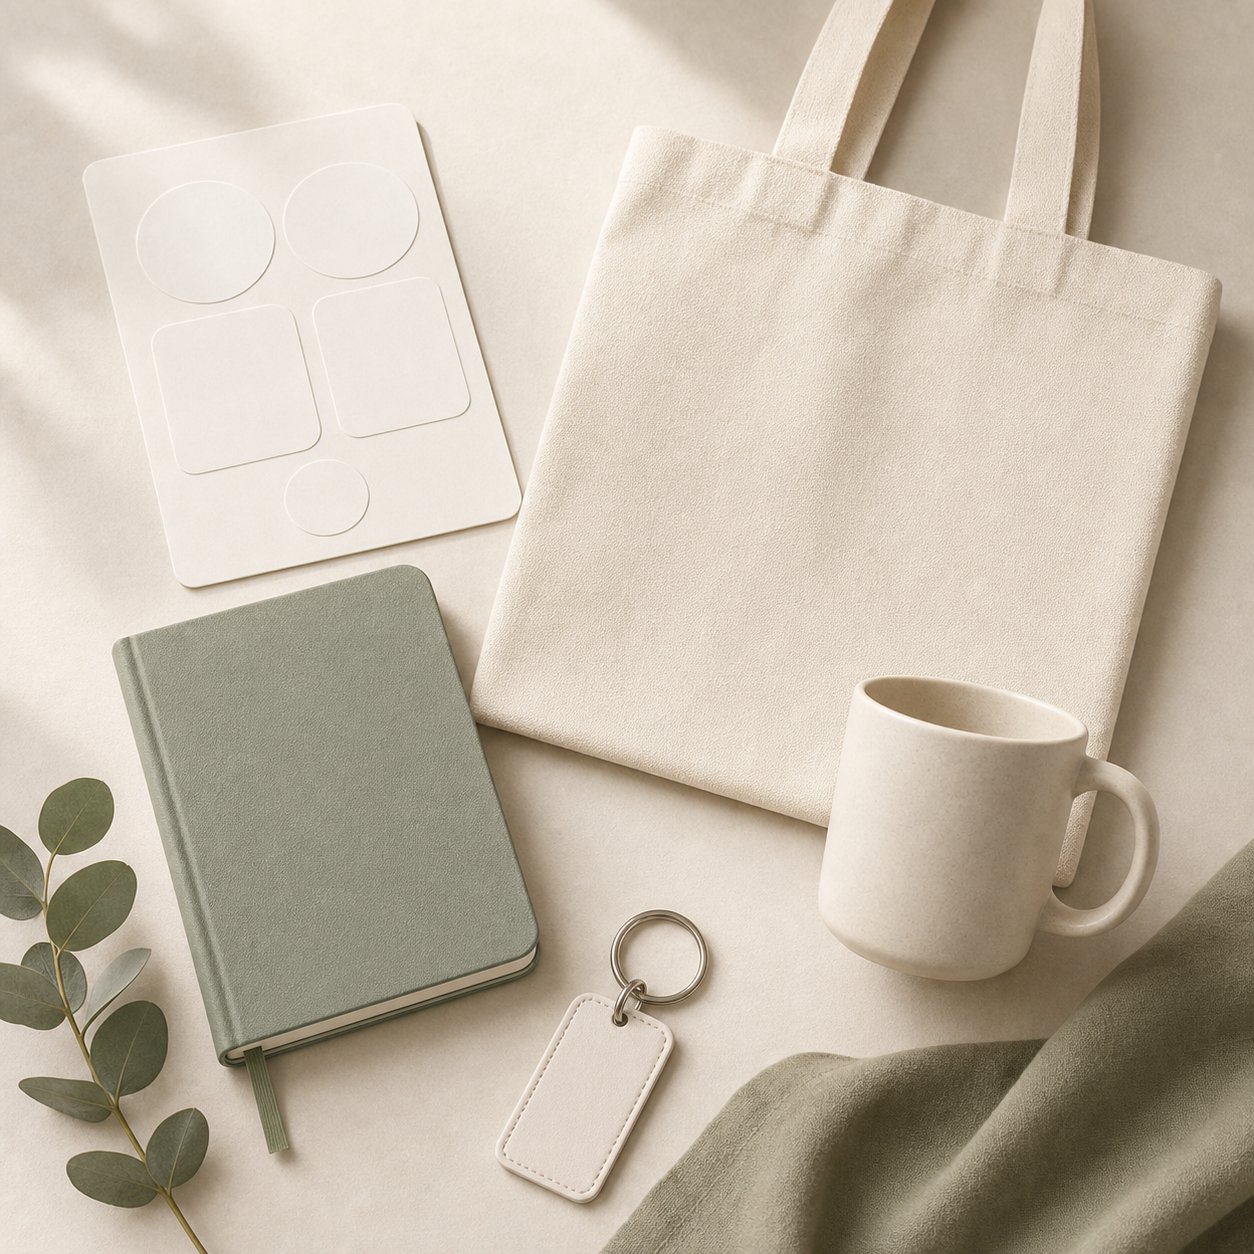
              <p style={{ margin: '0.2rem 0 0', color: '#4d4640', fontSize: '0.88rem', lineHeight: 1.45 }}>Contrôle les objets merch, les matières et la perspective produit.</p>
            </div>
          </div>

          <div style={{ display: 'grid', gridTemplateColumns: '84px minmax(0, 1fr)', gap: '0.75rem', alignItems: 'center', padding: '0.7rem', borderRadius: '10px', background: '#f8f6f2' }}>
            <img src="https://mintcdn.com/happycapy/h9_vLtvDfrXu5HTP/images/features/image-ref-campaign-layout.png?fit=max&auto=format&n=h9_vLtvDfrXu5HTP&q=85&s=c50a41ca0494509b045195a9b4caa4fd" alt="Référence de mise en page et d’ambiance de campagne" style={{ display: 'block', width: '84px', height: '84px', objectFit: 'cover', borderRadius: '8px', border: '1px solid rgba(46, 41, 41, 0.1)' }} width="1254" height="1254" data-path="images/features/image-ref-campaign-layout.png" />

            <div>
              <div style={{ color: '#df7657', fontSize: '0.78rem', fontWeight: 750, textTransform: 'uppercase', letterSpacing: '0.08em' }}>Image 3</div>
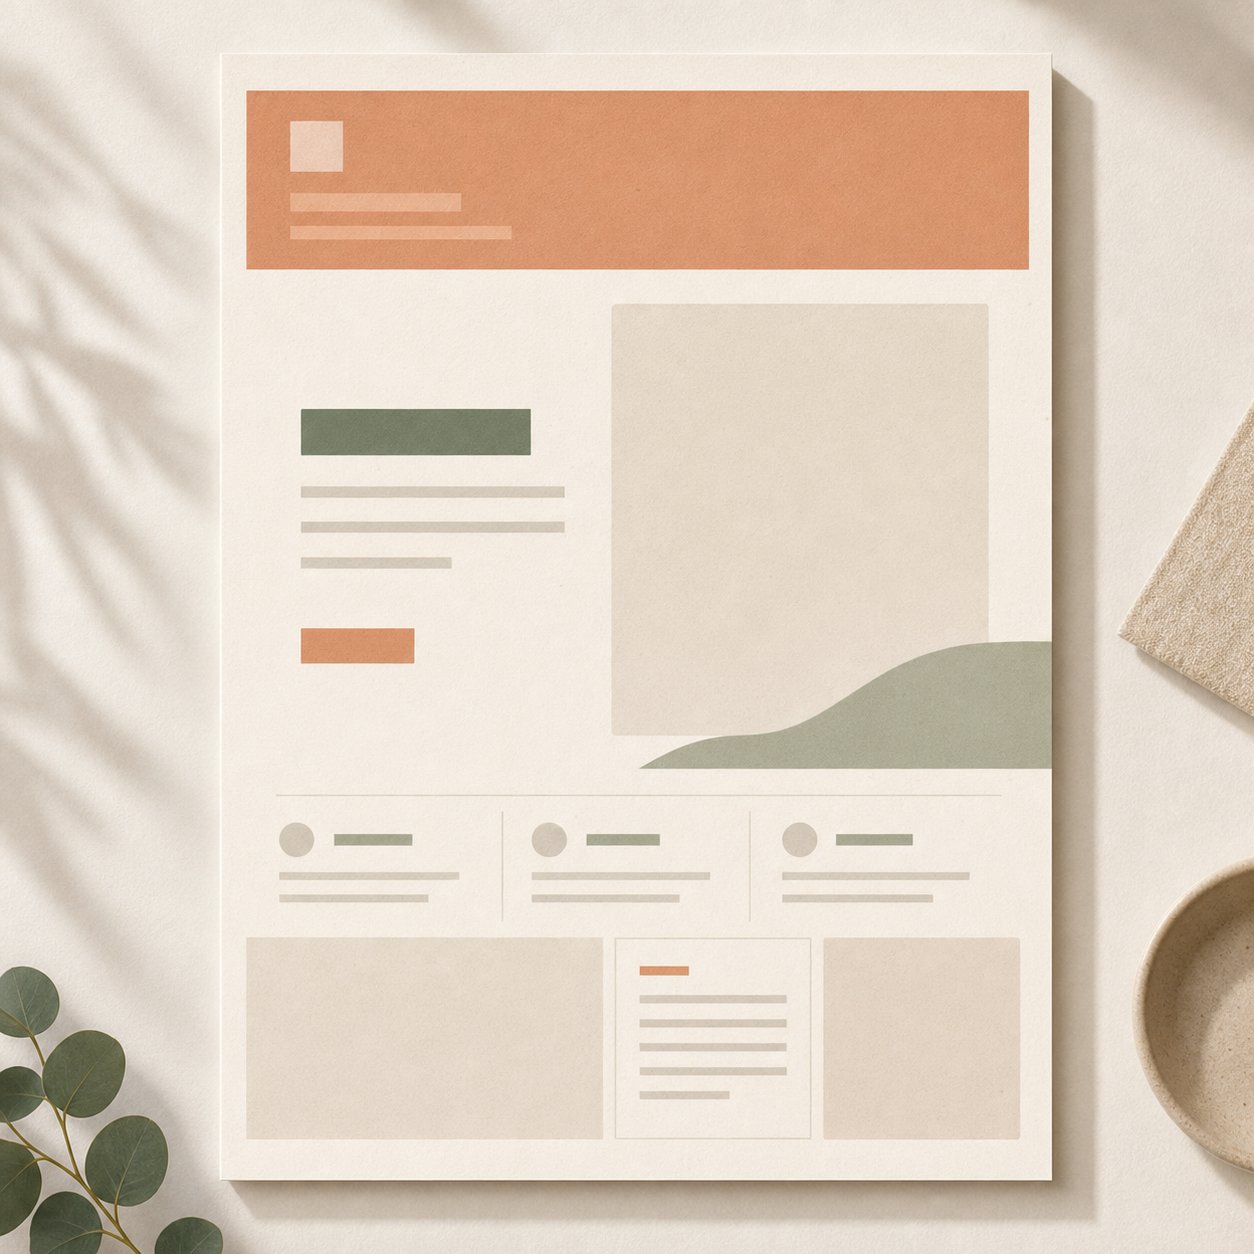
              <p style={{ margin: '0.2rem 0 0', color: '#4d4640', fontSize: '0.88rem', lineHeight: 1.45 }}>Contrôle l’ambiance, la palette, la lumière et la mise en page.</p>
            </div>
          </div>
        </div>

        <div style={{ justifySelf: 'center', width: 'min(100%, 360px)' }}>
          <img src="https://mintcdn.com/happycapy/h9_vLtvDfrXu5HTP/images/features/image-output-happycapy-merch-poster.png?fit=max&auto=format&n=h9_vLtvDfrXu5HTP&q=85&s=ba7da75274a135ea40693b614999f892" alt="Affiche de campagne merch Happycapy générée" style={{ display: 'block', width: '100%', aspectRatio: '4 / 5', objectFit: 'cover', objectPosition: 'center top', borderRadius: '12px', border: '1px solid rgba(46, 41, 41, 0.1)', boxShadow: '0 18px 40px rgba(46, 41, 41, 0.08)' }} width="1003" height="1568" data-path="images/features/image-output-happycapy-merch-poster.png" />
        </div>
      </div>

      <div style={{ marginTop: '1rem', padding: '0.85rem', borderRadius: '9px', background: '#f8f6f2', color: '#4d4640', fontSize: '0.86rem', lineHeight: 1.55 }}>
        <p style={{ margin: '0 0 0.65rem', color: '#8a8178', fontWeight: 700 }}>Demander à Happycapy</p>
        <code style={{ whiteSpace: 'pre-wrap' }}>Use image 1 as the Happycapy brand mark reference. Keep the simple capybara line icon recognizable, but use it as a tasteful logo on the products.{"\n\n"}Use image 2 to control the merch objects, materials, and product perspective. Use image 3 to control the campaign mood, color palette, lighting, and layout.{"\n\n"}Create one 4:5 editorial campaign poster for a fictional Happycapy merch drop. Show the logo applied to the merch objects in a clean, premium way. Save it as outputs/happycapy-merch-campaign.png.</code>
      </div>
    </div>
  </div>
</div>

## Ressources liées

* [Files](/fr/features/files) : gérer les références importées, les images générées et les fichiers `outputs/` dans un Project.
* [AI Image Generator](https://happycapy.ai/tools/ai-image-generator) : parcourir d’autres idées de prompts et essayer la génération d’images directement.