> ## Documentation Index
> Fetch the complete documentation index at: https://docs.happycapy.ai/llms.txt
> Use this file to discover all available pages before exploring further.

# Bilderstellung und Bearbeitung

> Bilder in einem Project erstellen, bearbeiten, kombinieren und als Referenzen vorbereiten

## Was ist Bilderstellung und Bearbeitung?

Mit Bilderstellung und Bearbeitung kannst du neue Bilder erzeugen, vorhandene Bilder bearbeiten und mehrere visuelle Referenzen innerhalb eines Project zu einem Ergebnis kombinieren. Nutze es für Cover, Produktvisuals, Kampagnenmotive, Referenzframes und andere statische Bilder, die zusammen mit deinen Dateien bleiben sollen.

Beginne mit dem Ergebnis, das du brauchst, nicht mit einem Modellnamen. Happycapy kann den passenden Weg wählen, die Ausgabe in Files speichern und Prompts, Referenzen und generierte Assets für spätere Sessions im selben Project halten.

## Drei Wege zum Start

Wähle den Input, den du bereits hast: Text, ein Bild oder mehrere Referenzen.

### 1. Mit Text starten

Beschreibe das Bild, das du möchtest. Happycapy kann es generieren und zusammen mit den restlichen Project-Dateien speichern.

<div style={{ display: 'grid', gridTemplateColumns: 'repeat(auto-fit, minmax(250px, 1fr))', gap: '1rem', margin: '1rem 0 2rem' }}>
  <div style={{ gridColumn: '1 / -1', border: '1px solid rgba(46, 41, 41, 0.1)', borderRadius: '12px', overflow: 'hidden', background: '#fffdf9' }}>
    <div style={{ padding: '1.1rem' }}>
      <div style={{ fontSize: '0.78rem', textTransform: 'uppercase', letterSpacing: '0.08em', color: '#df7657', fontWeight: 750 }}>Text to image</div>
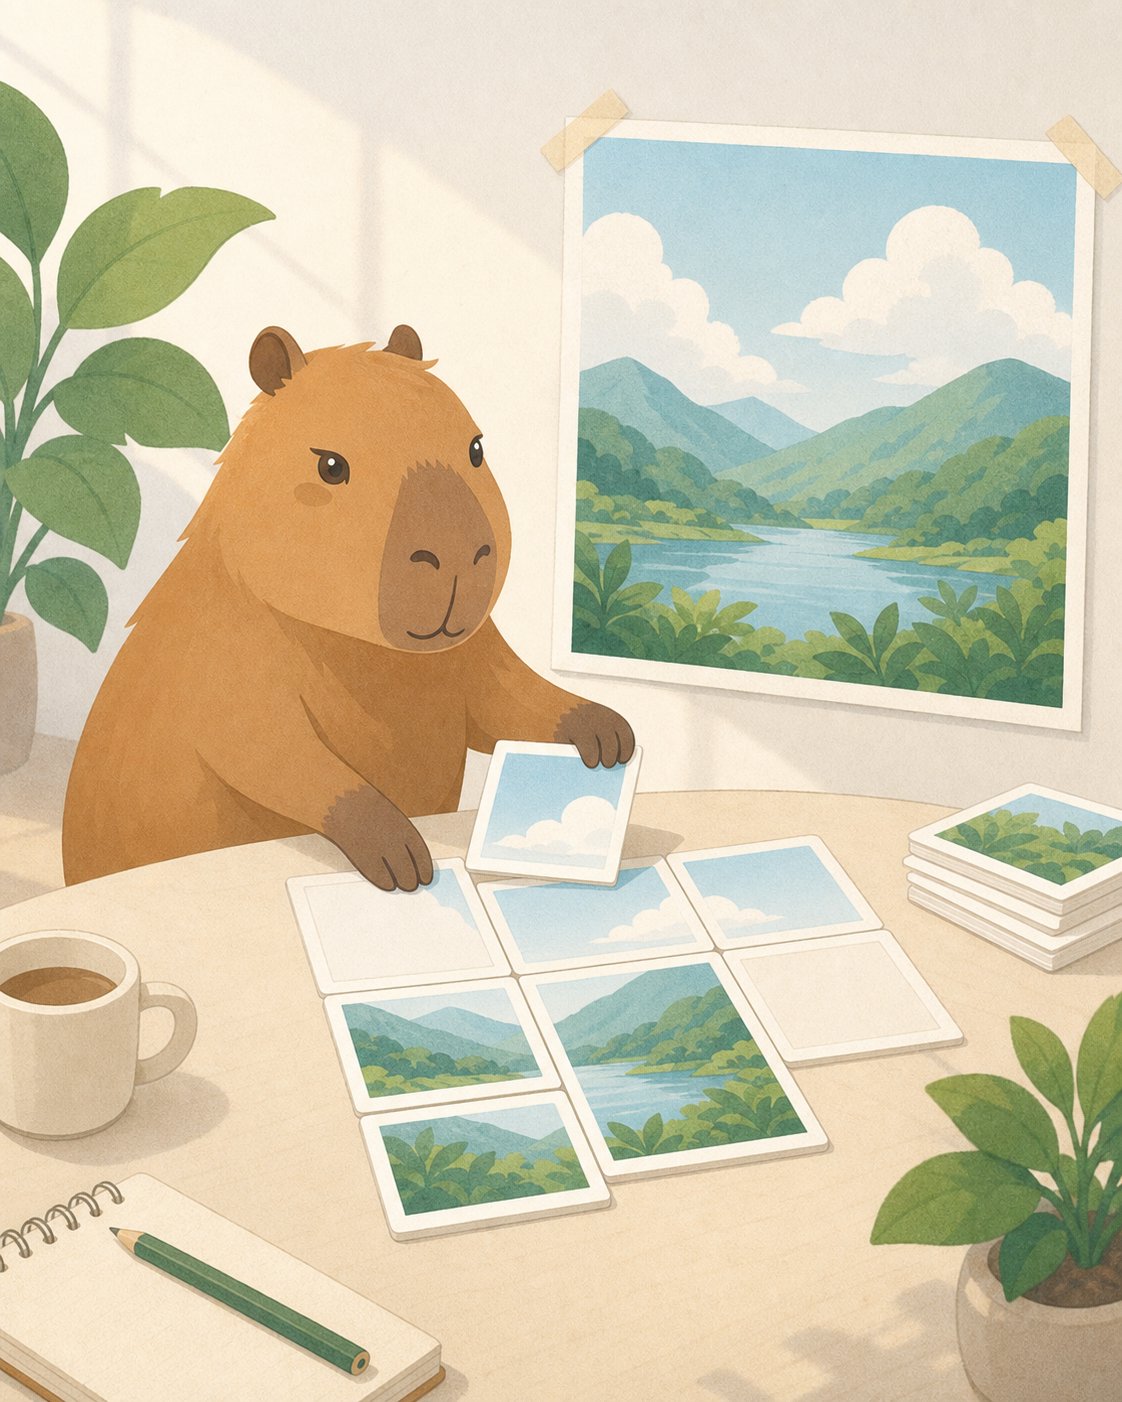
      <h3 style={{ margin: '0.35rem 0 0.55rem', fontSize: '1.3rem' }}>Ein Docs-Cover aus Text erstellen</h3>
      <p style={{ margin: '0 0 1rem', color: '#6e6861', fontSize: '0.95rem', lineHeight: 1.55 }}>Starte mit dem fertigen Bild, das du haben willst. Happycapy kann das Artwork erzeugen und mit den restlichen Project-Dateien speichern.</p>

      <div style={{ display: 'grid', gridTemplateColumns: 'repeat(auto-fit, minmax(240px, 1fr))', gap: '1.25rem', alignItems: 'stretch' }}>
        <div style={{ height: '100%', padding: '0.85rem', borderRadius: '9px', background: '#f8f6f2', color: '#4d4640', fontSize: '0.86rem', lineHeight: 1.55 }}>
          <p style={{ margin: '0 0 0.65rem', color: '#8a8178', fontWeight: 700 }}>Happycapy fragen</p>
          <code style={{ whiteSpace: 'pre-wrap' }}>Create a 4:5 Happycapy-style illustration for a docs page about image generation.{"\n\n"}Show a calm capybara arranging blank image cards into one finished artwork. Use bright daylight, clean editorial illustration, paper grain, and no readable text.{"\n\n"}Save it as outputs/image-generation-cover.png.</code>
        </div>

        <div style={{ justifySelf: 'center', alignSelf: 'start', width: 'min(100%, 340px)', margin: 0 }}>
          <img src="https://mintcdn.com/happycapy/h9_vLtvDfrXu5HTP/images/features/image-generation-cover.png?fit=max&auto=format&n=h9_vLtvDfrXu5HTP&q=85&s=48b5fdecf36daa6805587c4d5d30ab86" alt="Generierte Happycapy-Illustration für eine Bilderstellungs-Dokumentation" style={{ display: 'block', width: '100%', margin: 0, aspectRatio: '4 / 5', objectFit: 'cover', borderRadius: '12px', border: '1px solid rgba(46, 41, 41, 0.1)', boxShadow: '0 18px 40px rgba(46, 41, 41, 0.08)' }} width="1122" height="1402" data-path="images/features/image-generation-cover.png" />
        </div>
      </div>
    </div>
  </div>
</div>

### 2. Ein Bild bearbeiten

Lade ein Bild hoch und bitte Happycapy, Details, Layout, Hintergrund, Stil oder lokale Bereiche zu ändern, während die wichtigen Teile erhalten bleiben.

<div style={{ display: 'grid', gridTemplateColumns: 'repeat(auto-fit, minmax(250px, 1fr))', gap: '1rem', margin: '1rem 0 2rem' }}>
  <div style={{ gridColumn: '1 / -1', border: '1px solid rgba(46, 41, 41, 0.1)', borderRadius: '12px', overflow: 'hidden', background: '#fffdf9' }}>
    <div style={{ padding: '1.1rem' }}>
      <div style={{ fontSize: '0.78rem', textTransform: 'uppercase', letterSpacing: '0.08em', color: '#df7657', fontWeight: 750 }}>Edit an image</div>
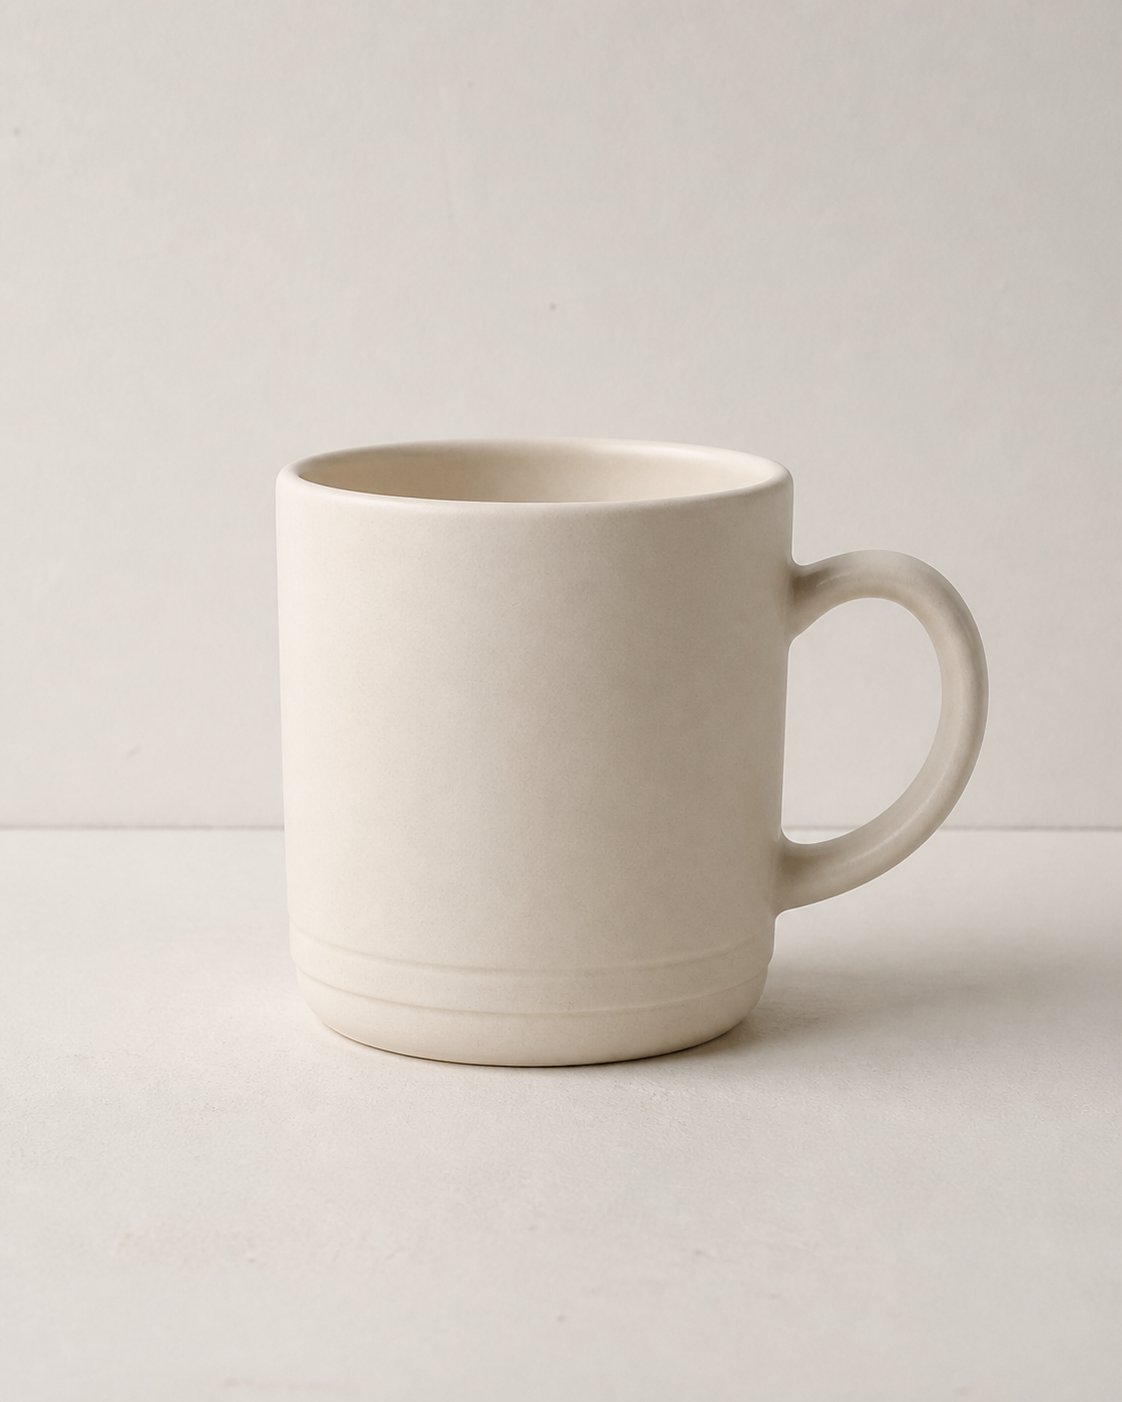
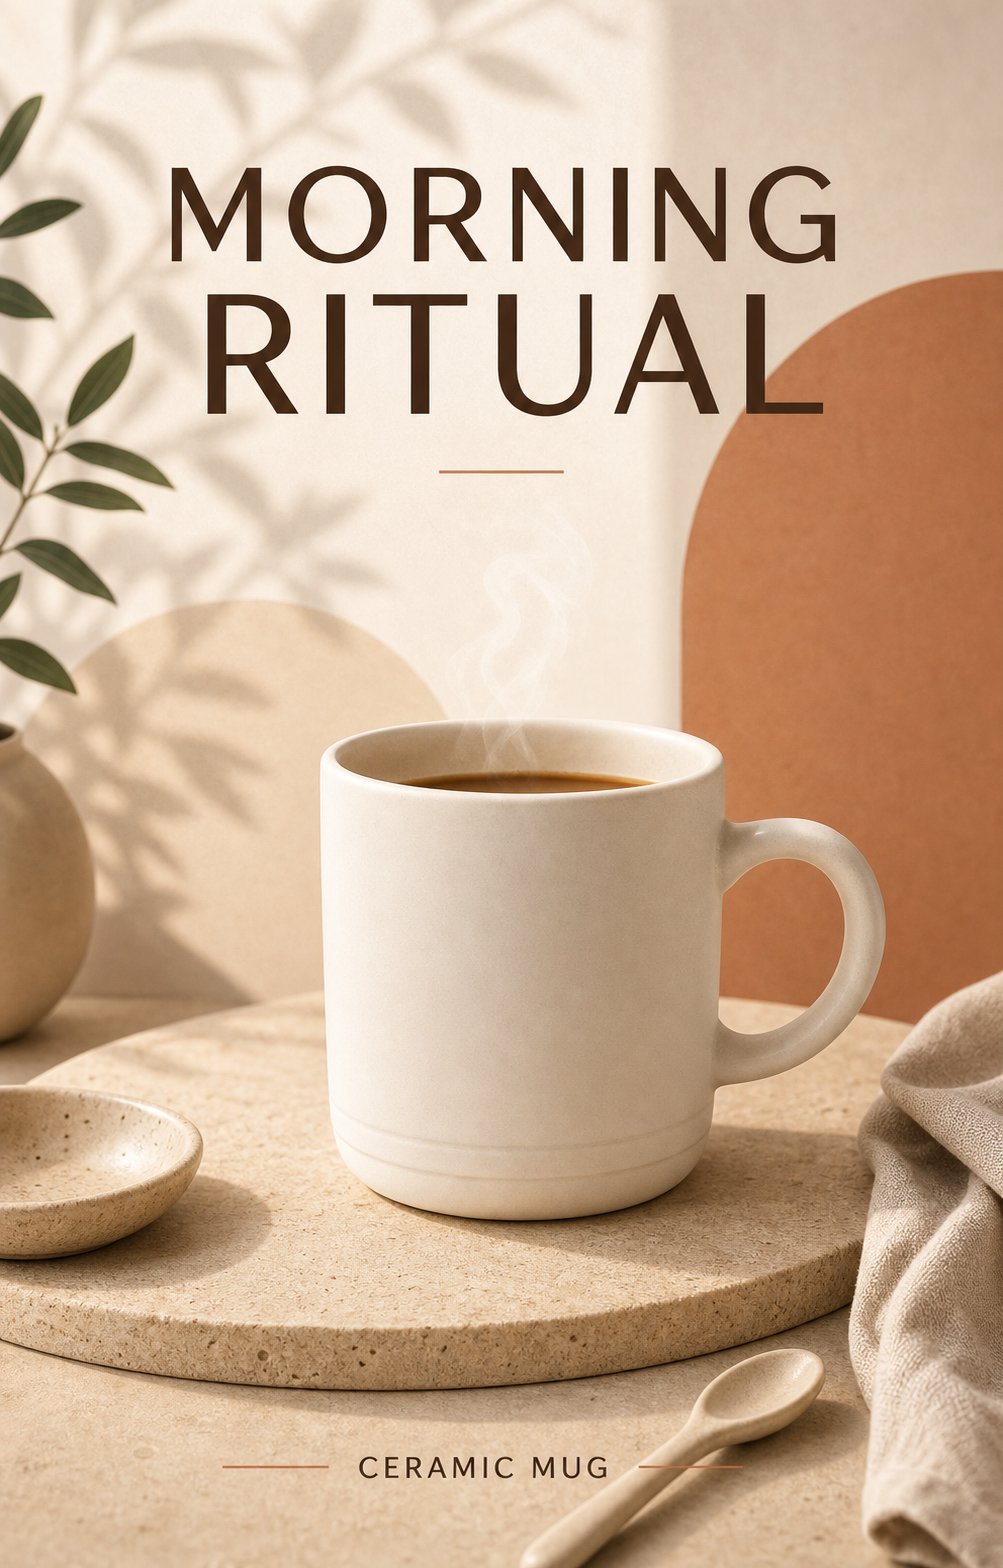
      <h3 style={{ margin: '0.35rem 0 0.55rem', fontSize: '1.3rem' }}>Ein einfaches Produktfoto in ein Kampagnenposter verwandeln</h3>
      <p style={{ margin: '0 0 1rem', color: '#6e6861', fontSize: '0.95rem', lineHeight: 1.55 }}>Lade ein einfaches Produktfoto hoch. Happycapy soll das Objekt erkennbar halten und Layout, Licht, Requisiten und Poster-Typografie ändern.</p>

      <div style={{ display: 'grid', gridTemplateColumns: 'repeat(2, minmax(0, 1fr))', gap: '0.75rem', marginBottom: '1rem' }}>
        <div>
          <img src="https://mintcdn.com/happycapy/h9_vLtvDfrXu5HTP/images/features/image-edit-before-mug.png?fit=max&auto=format&n=h9_vLtvDfrXu5HTP&q=85&s=c9771a04ae657bda4f79e9184324364c" alt="Einfaches Becher-Produktfoto vor der Bearbeitung" style={{ display: 'block', width: '100%', aspectRatio: '4 / 5', objectFit: 'cover', borderRadius: '12px', border: '1px solid rgba(46, 41, 41, 0.1)' }} width="1122" height="1402" data-path="images/features/image-edit-before-mug.png" />

          <div style={{ marginTop: '0.45rem', color: '#8a8178', fontSize: '0.78rem', fontWeight: 700, textTransform: 'uppercase', letterSpacing: '0.08em' }}>Before</div>
        </div>

        <div>
          <img src="https://mintcdn.com/happycapy/h9_vLtvDfrXu5HTP/images/features/image-edit-after-mug-poster.png?fit=max&auto=format&n=h9_vLtvDfrXu5HTP&q=85&s=8ae661da753de93bf6633785b41ff6da" alt="Kampagnenposter nach der Bearbeitung des Becherfotos" style={{ display: 'block', width: '100%', aspectRatio: '4 / 5', objectFit: 'cover', borderRadius: '12px', border: '1px solid rgba(46, 41, 41, 0.1)', boxShadow: '0 18px 40px rgba(46, 41, 41, 0.08)' }} width="1003" height="1568" data-path="images/features/image-edit-after-mug-poster.png" />

          <div style={{ marginTop: '0.45rem', color: '#df7657', fontSize: '0.78rem', fontWeight: 750, textTransform: 'uppercase', letterSpacing: '0.08em' }}>After</div>
        </div>
      </div>

      <div style={{ padding: '0.85rem', borderRadius: '9px', background: '#f8f6f2', color: '#4d4640', fontSize: '0.86rem', lineHeight: 1.55 }}>
        <p style={{ margin: '0 0 0.65rem', color: '#8a8178', fontWeight: 700 }}>Happycapy fragen</p>
        <code style={{ whiteSpace: 'pre-wrap' }}>Edit the uploaded product photo.{"\n\n"}Keep the mug recognizable, but turn it into a 4:5 product campaign poster. Add clear poster typography with the headline “MORNING RITUAL” and the small label “CERAMIC MUG”.{"\n\n"}Use warm studio lighting, a premium editorial layout, soft shadows, and simple lifestyle props. Save it as outputs/mug-campaign-poster.png.</code>
      </div>
    </div>
  </div>
</div>

### 3. Referenzen kombinieren

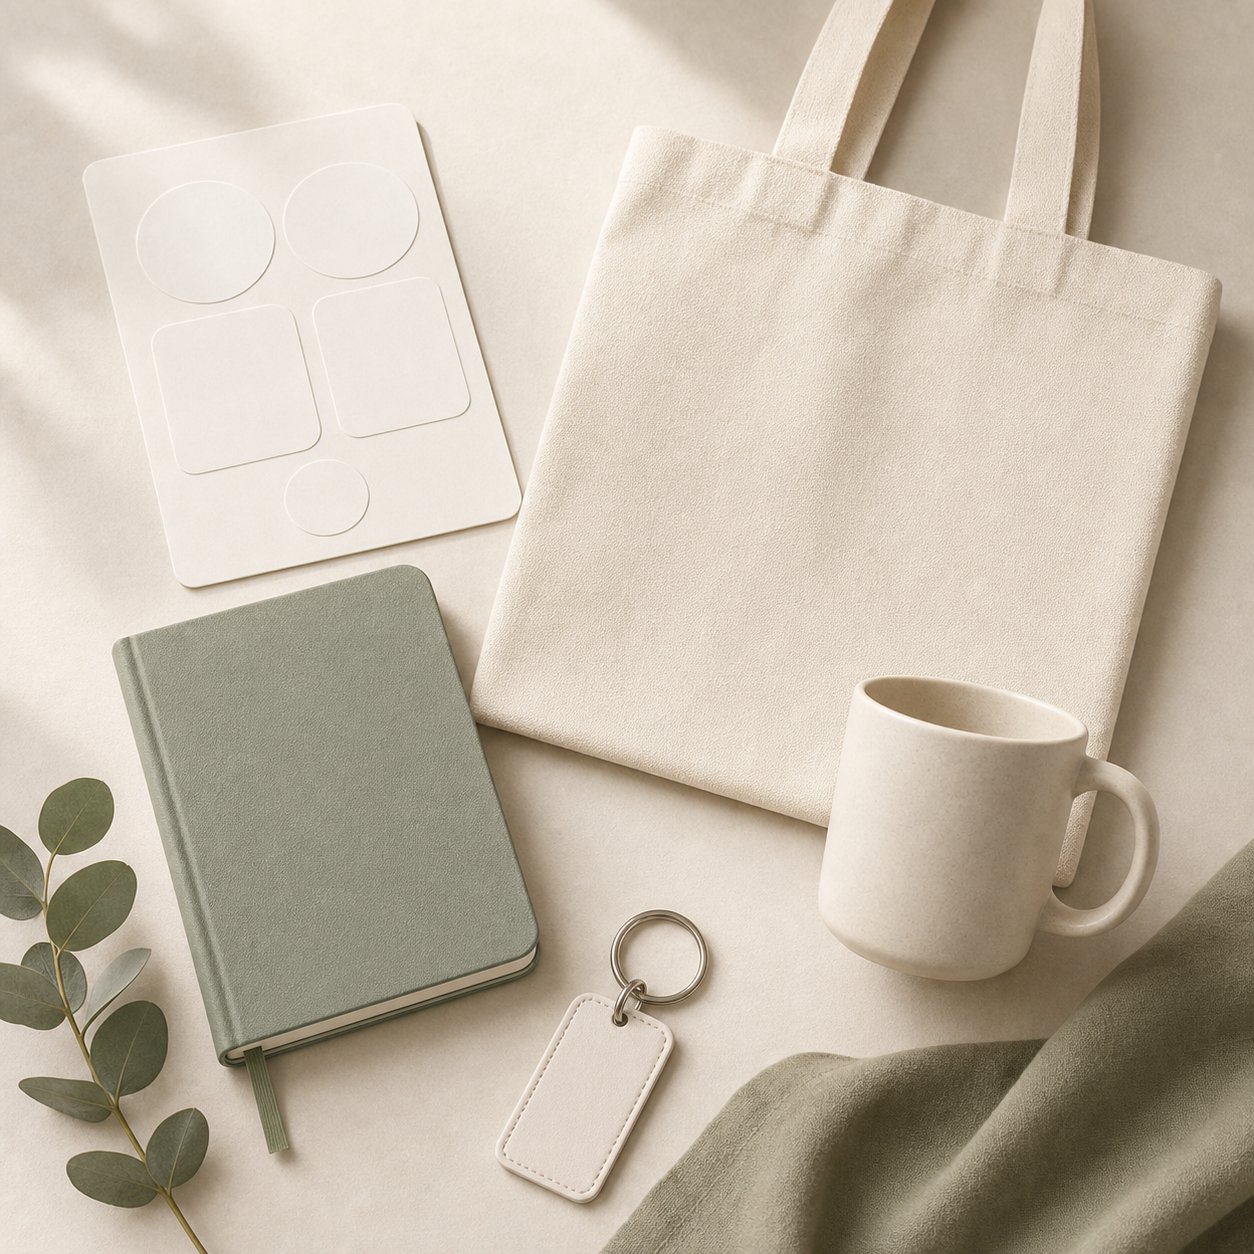
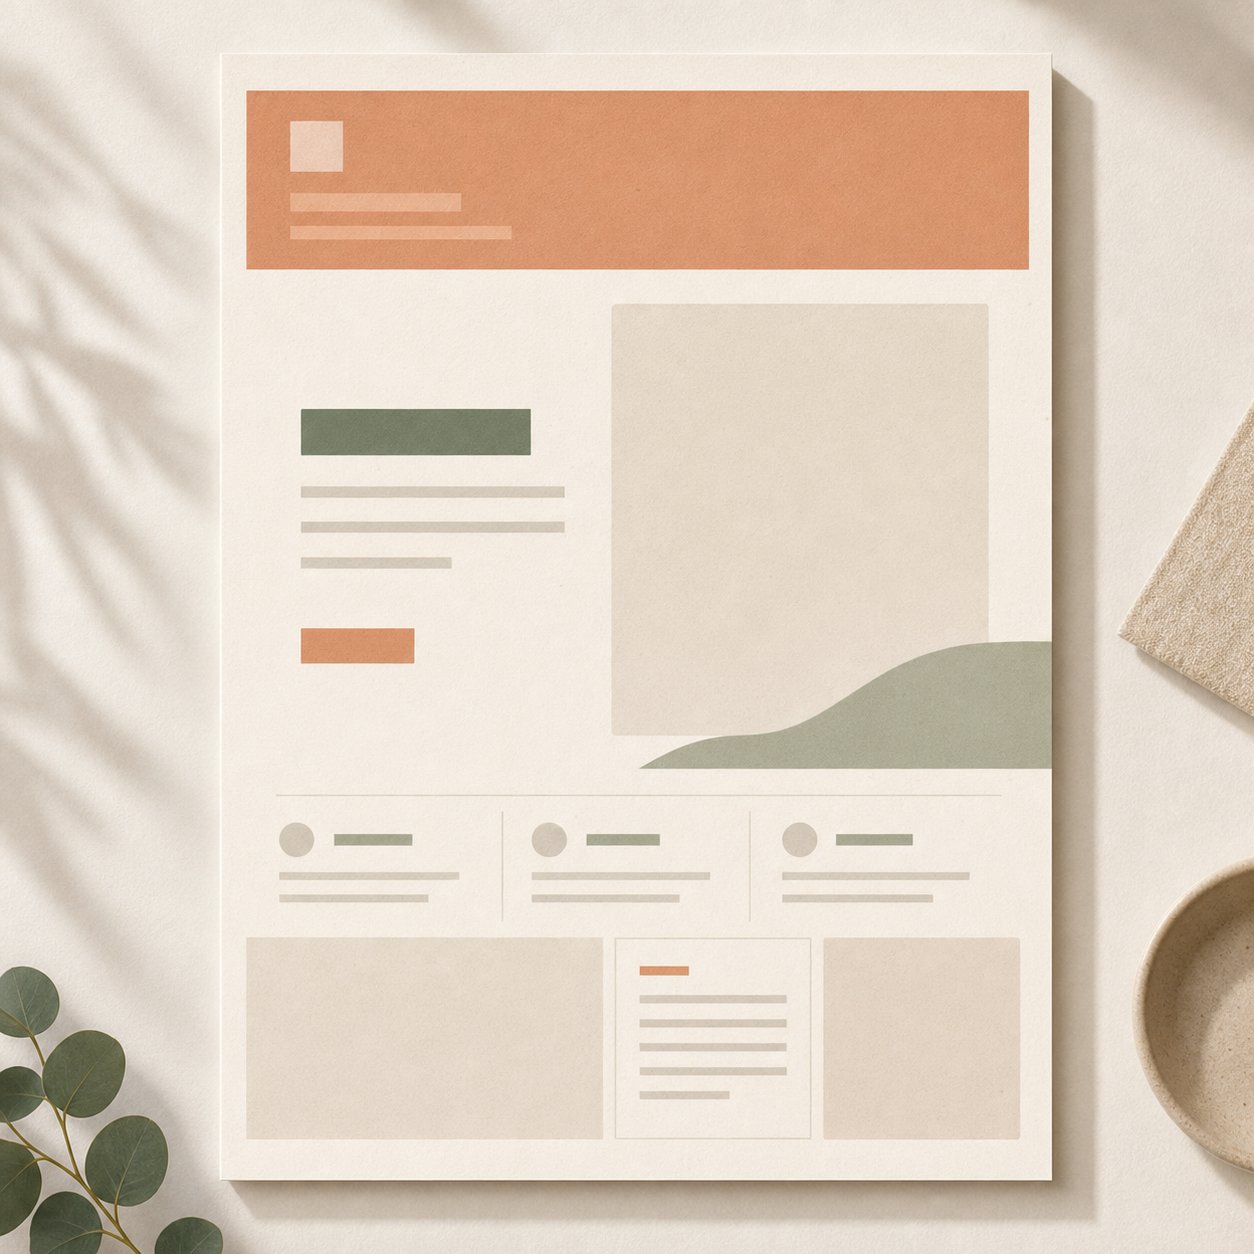
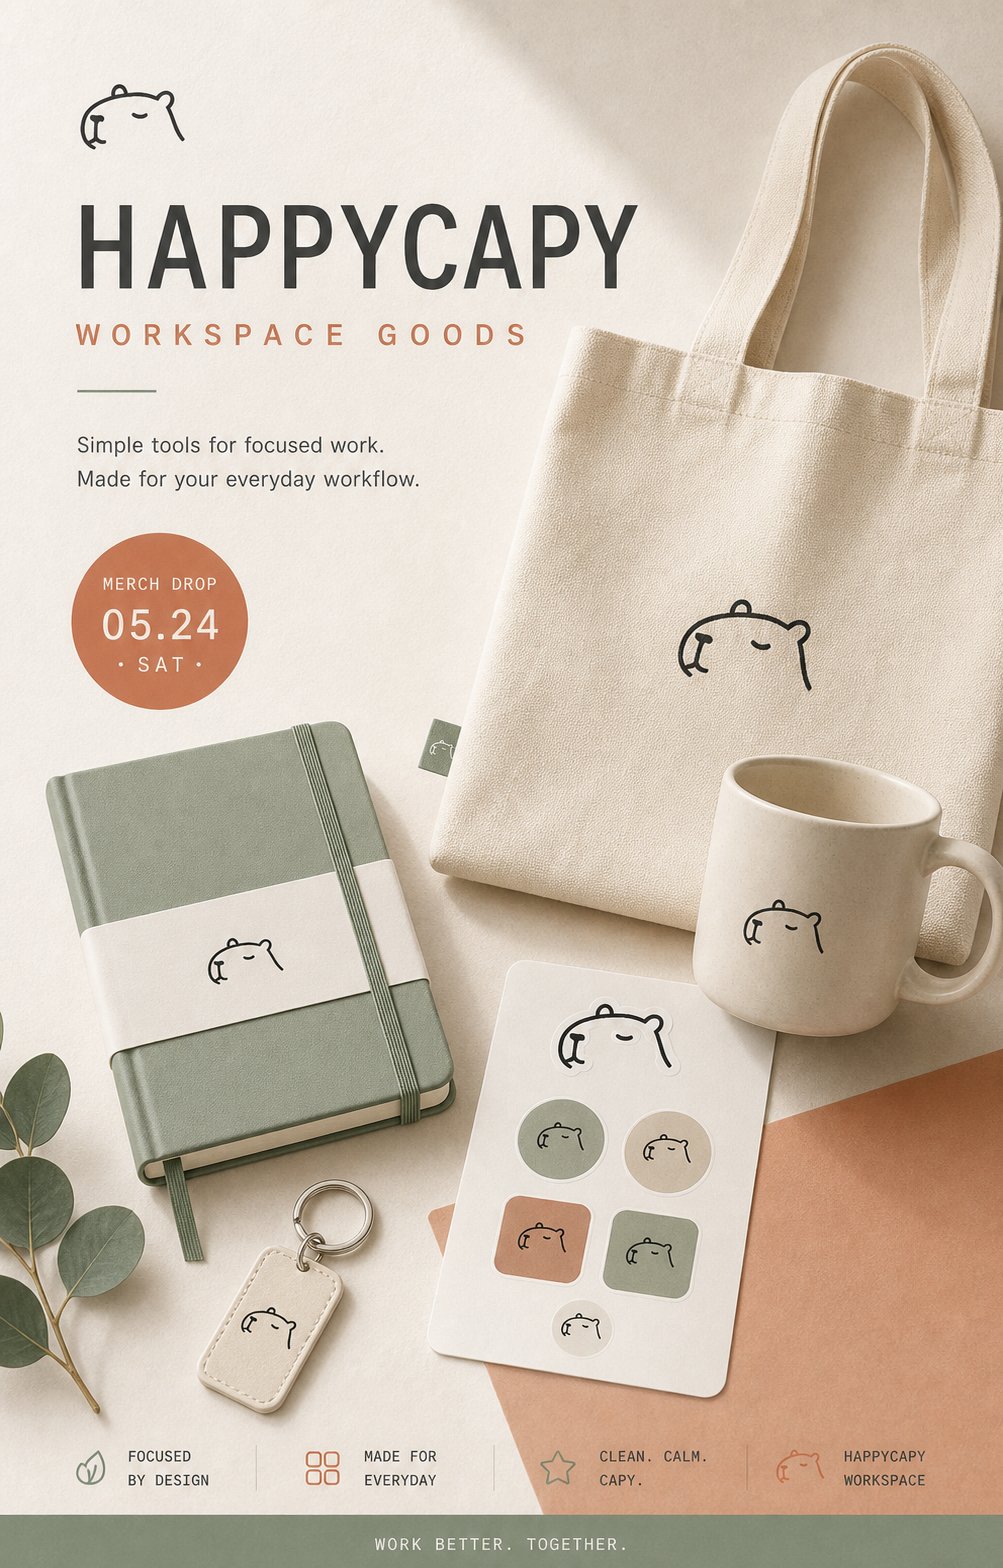
Lade mehrere Bilder hoch und sage Happycapy, was jedes Bild steuern soll: Marke, Motiv, Material, Stimmung, Layout oder Szene.

<div style={{ display: 'grid', gridTemplateColumns: 'repeat(auto-fit, minmax(250px, 1fr))', gap: '1rem', margin: '1rem 0 2rem' }}>
  <div style={{ gridColumn: '1 / -1', border: '1px solid rgba(46, 41, 41, 0.1)', borderRadius: '12px', overflow: 'hidden', background: '#fffdf9' }}>
    <div style={{ padding: '1.1rem' }}>
      <div style={{ fontSize: '0.78rem', textTransform: 'uppercase', letterSpacing: '0.08em', color: '#df7657', fontWeight: 750 }}>Multi-reference</div>
      <h3 style={{ margin: '0.35rem 0 0.55rem', fontSize: '1.3rem' }}>Eine Merch-Kampagne aus drei Referenzen erstellen</h3>
      <p style={{ margin: '0 0 1rem', color: '#6e6861', fontSize: '0.95rem', lineHeight: 1.55 }}>Ein Bild steuert das Brand-Zeichen, eins die Merch-Objekte und eins die Kampagnenstimmung. Sage Happycapy klar, welche Rolle jede Referenz hat.</p>

      <div style={{ display: 'grid', gridTemplateColumns: 'repeat(auto-fit, minmax(260px, 1fr))', gap: '1.25rem', alignItems: 'start' }}>
        <div style={{ display: 'grid', gap: '0.75rem' }}>
          <div style={{ display: 'grid', gridTemplateColumns: '84px minmax(0, 1fr)', gap: '0.75rem', alignItems: 'center', padding: '0.7rem', borderRadius: '10px', background: '#f8f6f2' }}>
            <img src="https://mintcdn.com/happycapy/h9_vLtvDfrXu5HTP/images/features/image-ref-happycapy-logo.png?fit=max&auto=format&n=h9_vLtvDfrXu5HTP&q=85&s=ff2087580b0aecea61c9d618db21db41" alt="Happycapy-Logo als Referenz" style={{ display: 'block', width: '84px', height: '84px', objectFit: 'cover', borderRadius: '8px', border: '1px solid rgba(46, 41, 41, 0.1)' }} width="1254" height="1254" data-path="images/features/image-ref-happycapy-logo.png" />

            <div>
              <div style={{ color: '#df7657', fontSize: '0.78rem', fontWeight: 750, textTransform: 'uppercase', letterSpacing: '0.08em' }}>Image 1</div>
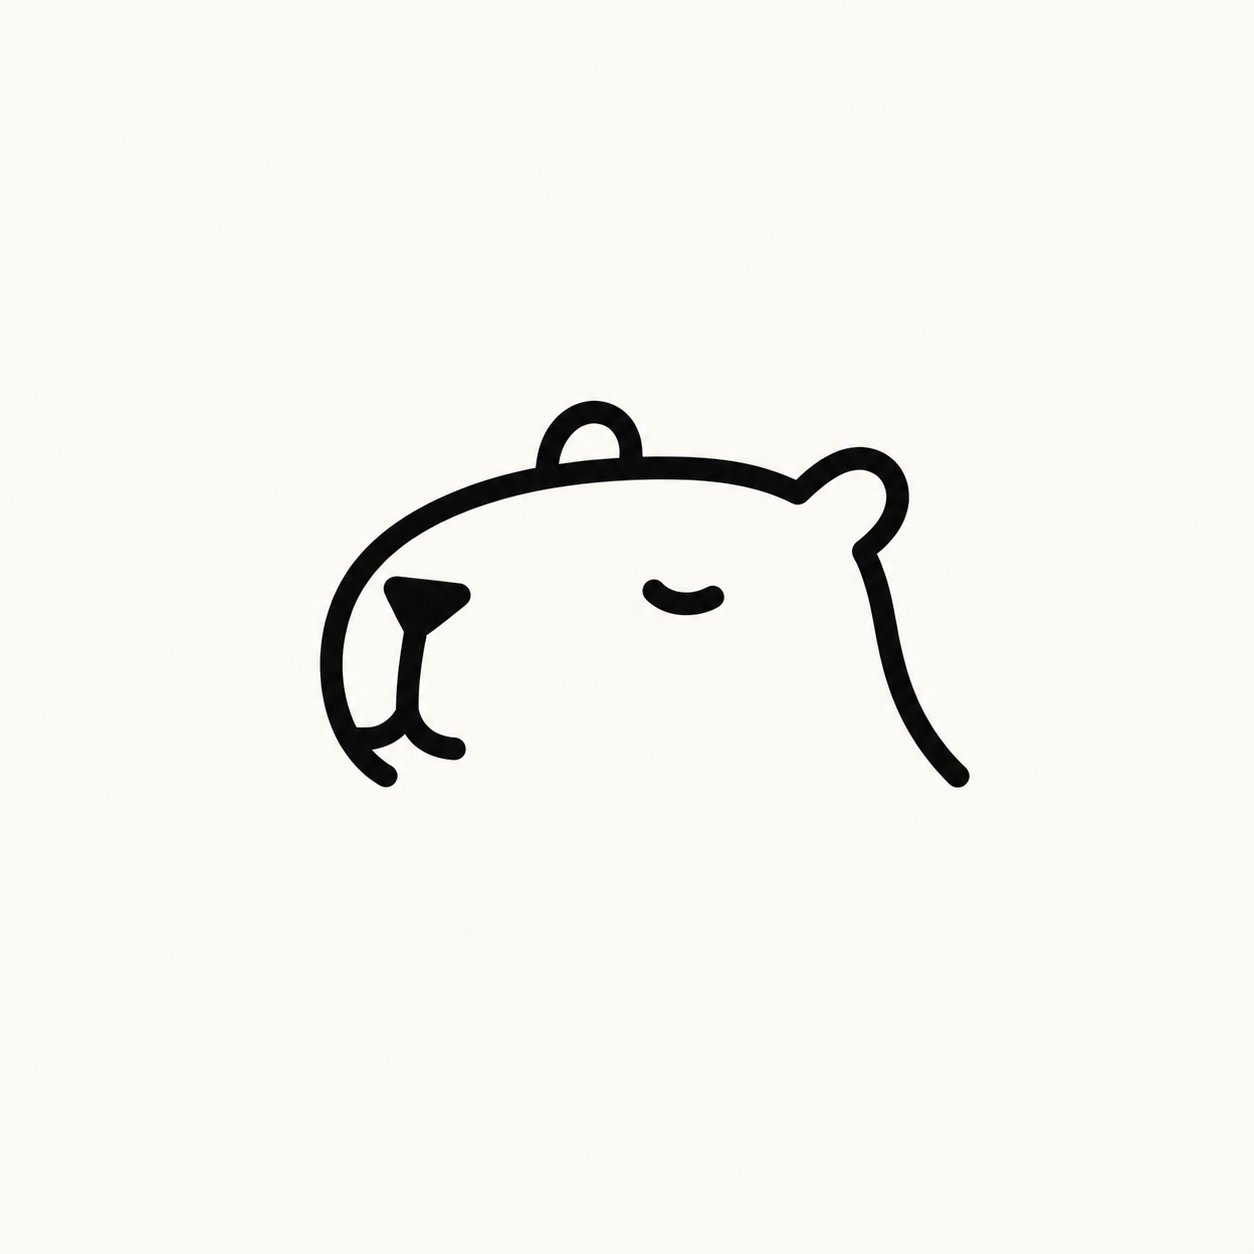
              <p style={{ margin: '0.2rem 0 0', color: '#4d4640', fontSize: '0.88rem', lineHeight: 1.45 }}>Steuert das Happycapy-Brand-Zeichen und die Line-Icon-Identität.</p>
            </div>
          </div>

          <div style={{ display: 'grid', gridTemplateColumns: '84px minmax(0, 1fr)', gap: '0.75rem', alignItems: 'center', padding: '0.7rem', borderRadius: '10px', background: '#f8f6f2' }}>
            <img src="https://mintcdn.com/happycapy/h9_vLtvDfrXu5HTP/images/features/image-ref-merch-objects.png?fit=max&auto=format&n=h9_vLtvDfrXu5HTP&q=85&s=ade0a16c4a6c926d10e030ac59f88dd5" alt="Leere Merch-Objekte als Referenz" style={{ display: 'block', width: '84px', height: '84px', objectFit: 'cover', borderRadius: '8px', border: '1px solid rgba(46, 41, 41, 0.1)' }} width="1254" height="1254" data-path="images/features/image-ref-merch-objects.png" />

            <div>
              <div style={{ color: '#df7657', fontSize: '0.78rem', fontWeight: 750, textTransform: 'uppercase', letterSpacing: '0.08em' }}>Image 2</div>
              <p style={{ margin: '0.2rem 0 0', color: '#4d4640', fontSize: '0.88rem', lineHeight: 1.45 }}>Steuert Merch-Objekte, Materialien und Produktperspektive.</p>
            </div>
          </div>

          <div style={{ display: 'grid', gridTemplateColumns: '84px minmax(0, 1fr)', gap: '0.75rem', alignItems: 'center', padding: '0.7rem', borderRadius: '10px', background: '#f8f6f2' }}>
            <img src="https://mintcdn.com/happycapy/h9_vLtvDfrXu5HTP/images/features/image-ref-campaign-layout.png?fit=max&auto=format&n=h9_vLtvDfrXu5HTP&q=85&s=c50a41ca0494509b045195a9b4caa4fd" alt="Kampagnenlayout und Stimmung als Referenz" style={{ display: 'block', width: '84px', height: '84px', objectFit: 'cover', borderRadius: '8px', border: '1px solid rgba(46, 41, 41, 0.1)' }} width="1254" height="1254" data-path="images/features/image-ref-campaign-layout.png" />

            <div>
              <div style={{ color: '#df7657', fontSize: '0.78rem', fontWeight: 750, textTransform: 'uppercase', letterSpacing: '0.08em' }}>Image 3</div>
              <p style={{ margin: '0.2rem 0 0', color: '#4d4640', fontSize: '0.88rem', lineHeight: 1.45 }}>Steuert Poster-Stimmung, Farbpalette, Licht und Layout.</p>
            </div>
          </div>
        </div>

        <div style={{ justifySelf: 'center', width: 'min(100%, 360px)' }}>
          <img src="https://mintcdn.com/happycapy/h9_vLtvDfrXu5HTP/images/features/image-output-happycapy-merch-poster.png?fit=max&auto=format&n=h9_vLtvDfrXu5HTP&q=85&s=ba7da75274a135ea40693b614999f892" alt="Generiertes Happycapy-Merch-Kampagnenposter" style={{ display: 'block', width: '100%', aspectRatio: '4 / 5', objectFit: 'cover', objectPosition: 'center top', borderRadius: '12px', border: '1px solid rgba(46, 41, 41, 0.1)', boxShadow: '0 18px 40px rgba(46, 41, 41, 0.08)' }} width="1003" height="1568" data-path="images/features/image-output-happycapy-merch-poster.png" />
        </div>
      </div>

      <div style={{ marginTop: '1rem', padding: '0.85rem', borderRadius: '9px', background: '#f8f6f2', color: '#4d4640', fontSize: '0.86rem', lineHeight: 1.55 }}>
        <p style={{ margin: '0 0 0.65rem', color: '#8a8178', fontWeight: 700 }}>Happycapy fragen</p>
        <code style={{ whiteSpace: 'pre-wrap' }}>Use image 1 as the Happycapy brand mark reference. Keep the simple capybara line icon recognizable, but use it as a tasteful logo on the products.{"\n\n"}Use image 2 to control the merch objects, materials, and product perspective. Use image 3 to control the campaign mood, color palette, lighting, and layout.{"\n\n"}Create one 4:5 editorial campaign poster for a fictional Happycapy merch drop. Show the logo applied to the merch objects in a clean, premium way. Save it as outputs/happycapy-merch-campaign.png.</code>
      </div>
    </div>
  </div>
</div>

## Verwandte Ressourcen

* [Files](/de/features/files): verwalte hochgeladene Referenzen, generierte Bilder und `outputs/`-Dateien in einem Project.
* [AI Image Generator](https://happycapy.ai/tools/ai-image-generator): weitere Bildprompt-Ideen ansehen und Bilder direkt ausprobieren.